Friday Fun - Star Trek Desk Lights
This is a project nearly two and half years in the making. It all started on August 4 2016 with this tweet
Now with added pygame for audio playback! #sysadminREDALERT @pimoroni #Mote pic.twitter.com/giOpnCAbOp
— biglesp (@biglesp) August 4, 2016
So what did I make back then? Well using Pimoroni's Mote sticks and controller I made something for fun, a red alert simulator based upon Star Trek.
But then it got put in a box, and only used for a bit of fun now and again.
March 7 2019 I made it better!
I wanted to make it more interactive and control it using a simple menu and so after investigating a few options including guizero (an easy to use GUI tool for Python) and easygui (another easy to use GUI tool) I settled on Anvil which is a totally different beast!
Anvil?
Anvil is an awesome tool that enables anyone to build web content using pure Python. It also has a tool called "uplink" that can connect a physical device to the web interface. And in this tutorial we shall be using that uplink interface to enable control of the Mote lights using a web interface.
Mote Sticks?
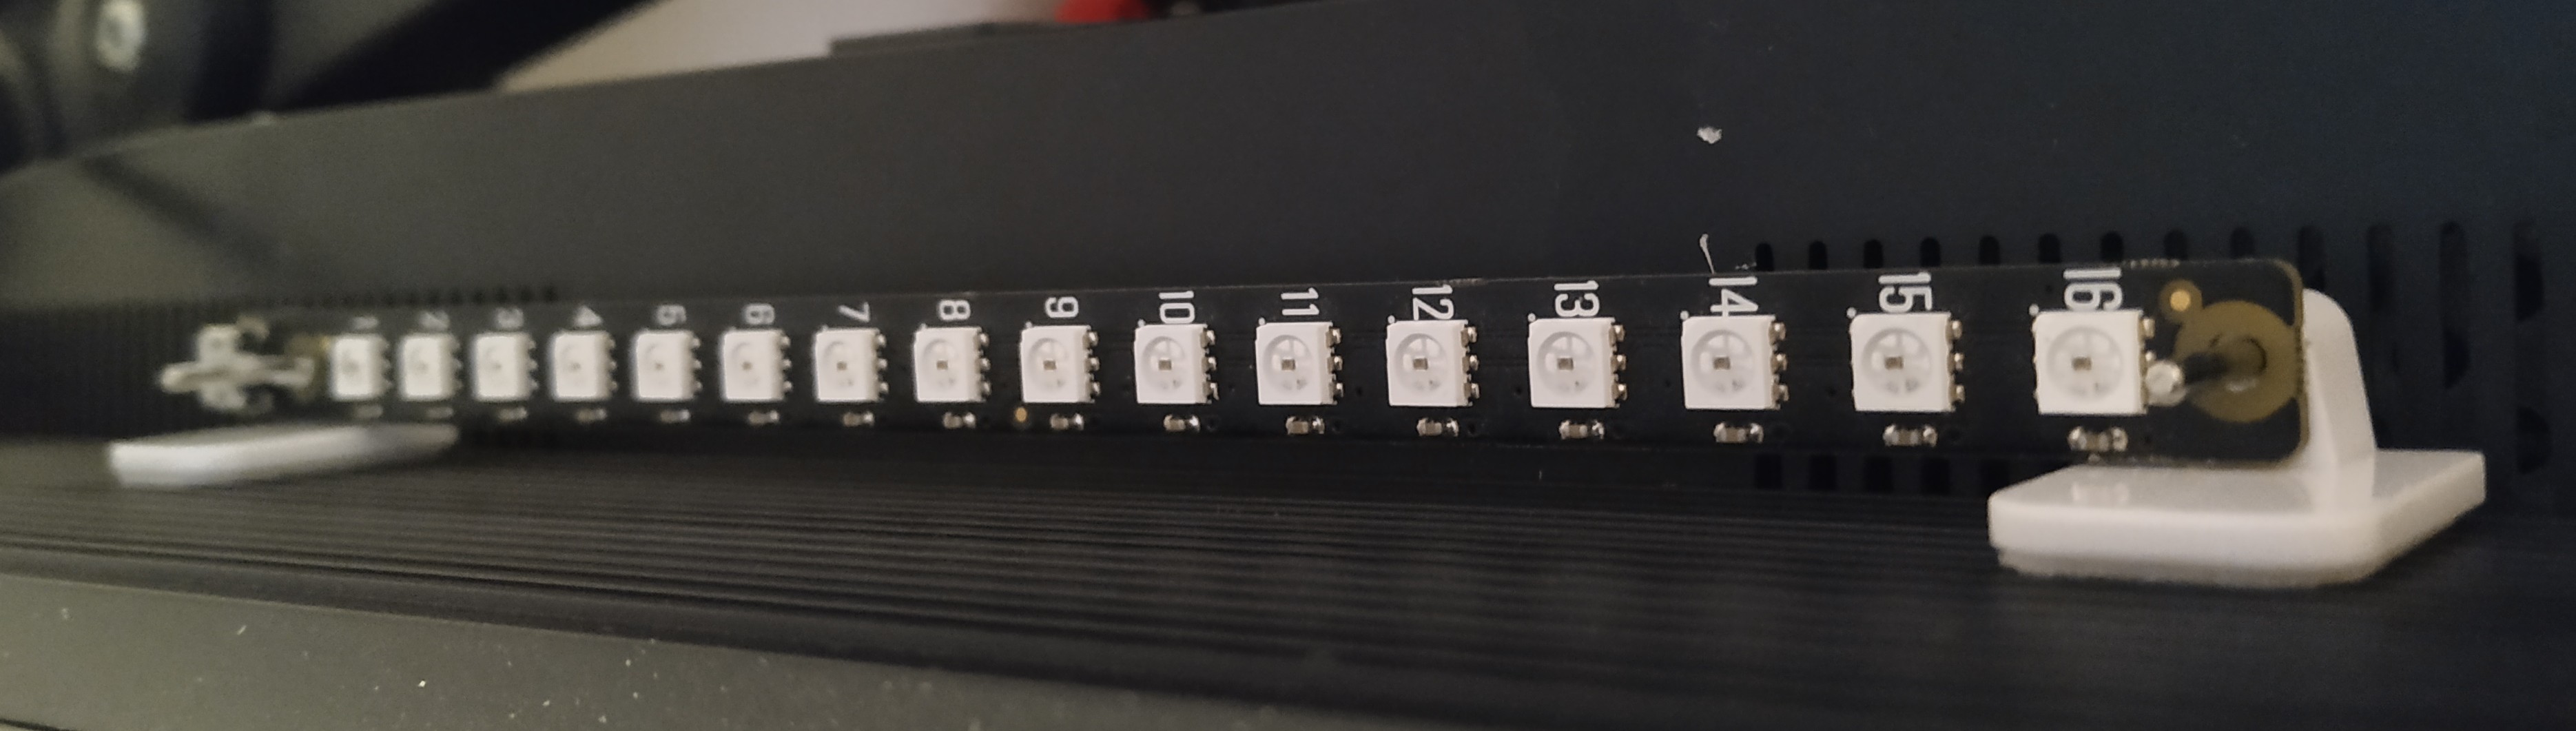
Pimoroni released Mote back in 2016 and they are sticks of 16 APA102 LEDs, similar in action to WS2812 neopixels, but using a different method of control. Motes are controlled using a controller board, this can be a standalone unit that connects to a computer via USB, or it can be a pHAT board for the Raspberry Pi Zero.
So what am I building?
An Anvil powered web interface to control my Pimoroni Mote lights.
What equipment do I need?
- USB Mote controller board
- 4 x Mote lights and bespoke micro USB leads (They come with the USB Mote Controller if you buy the bundle)
- USB to micro USB lead (to power the lights)
- Computer running Ubuntu / Windows / Mac
- A free Anvil account
- 8 x net curtain rod hooks...no seriously!
The Hardware Build
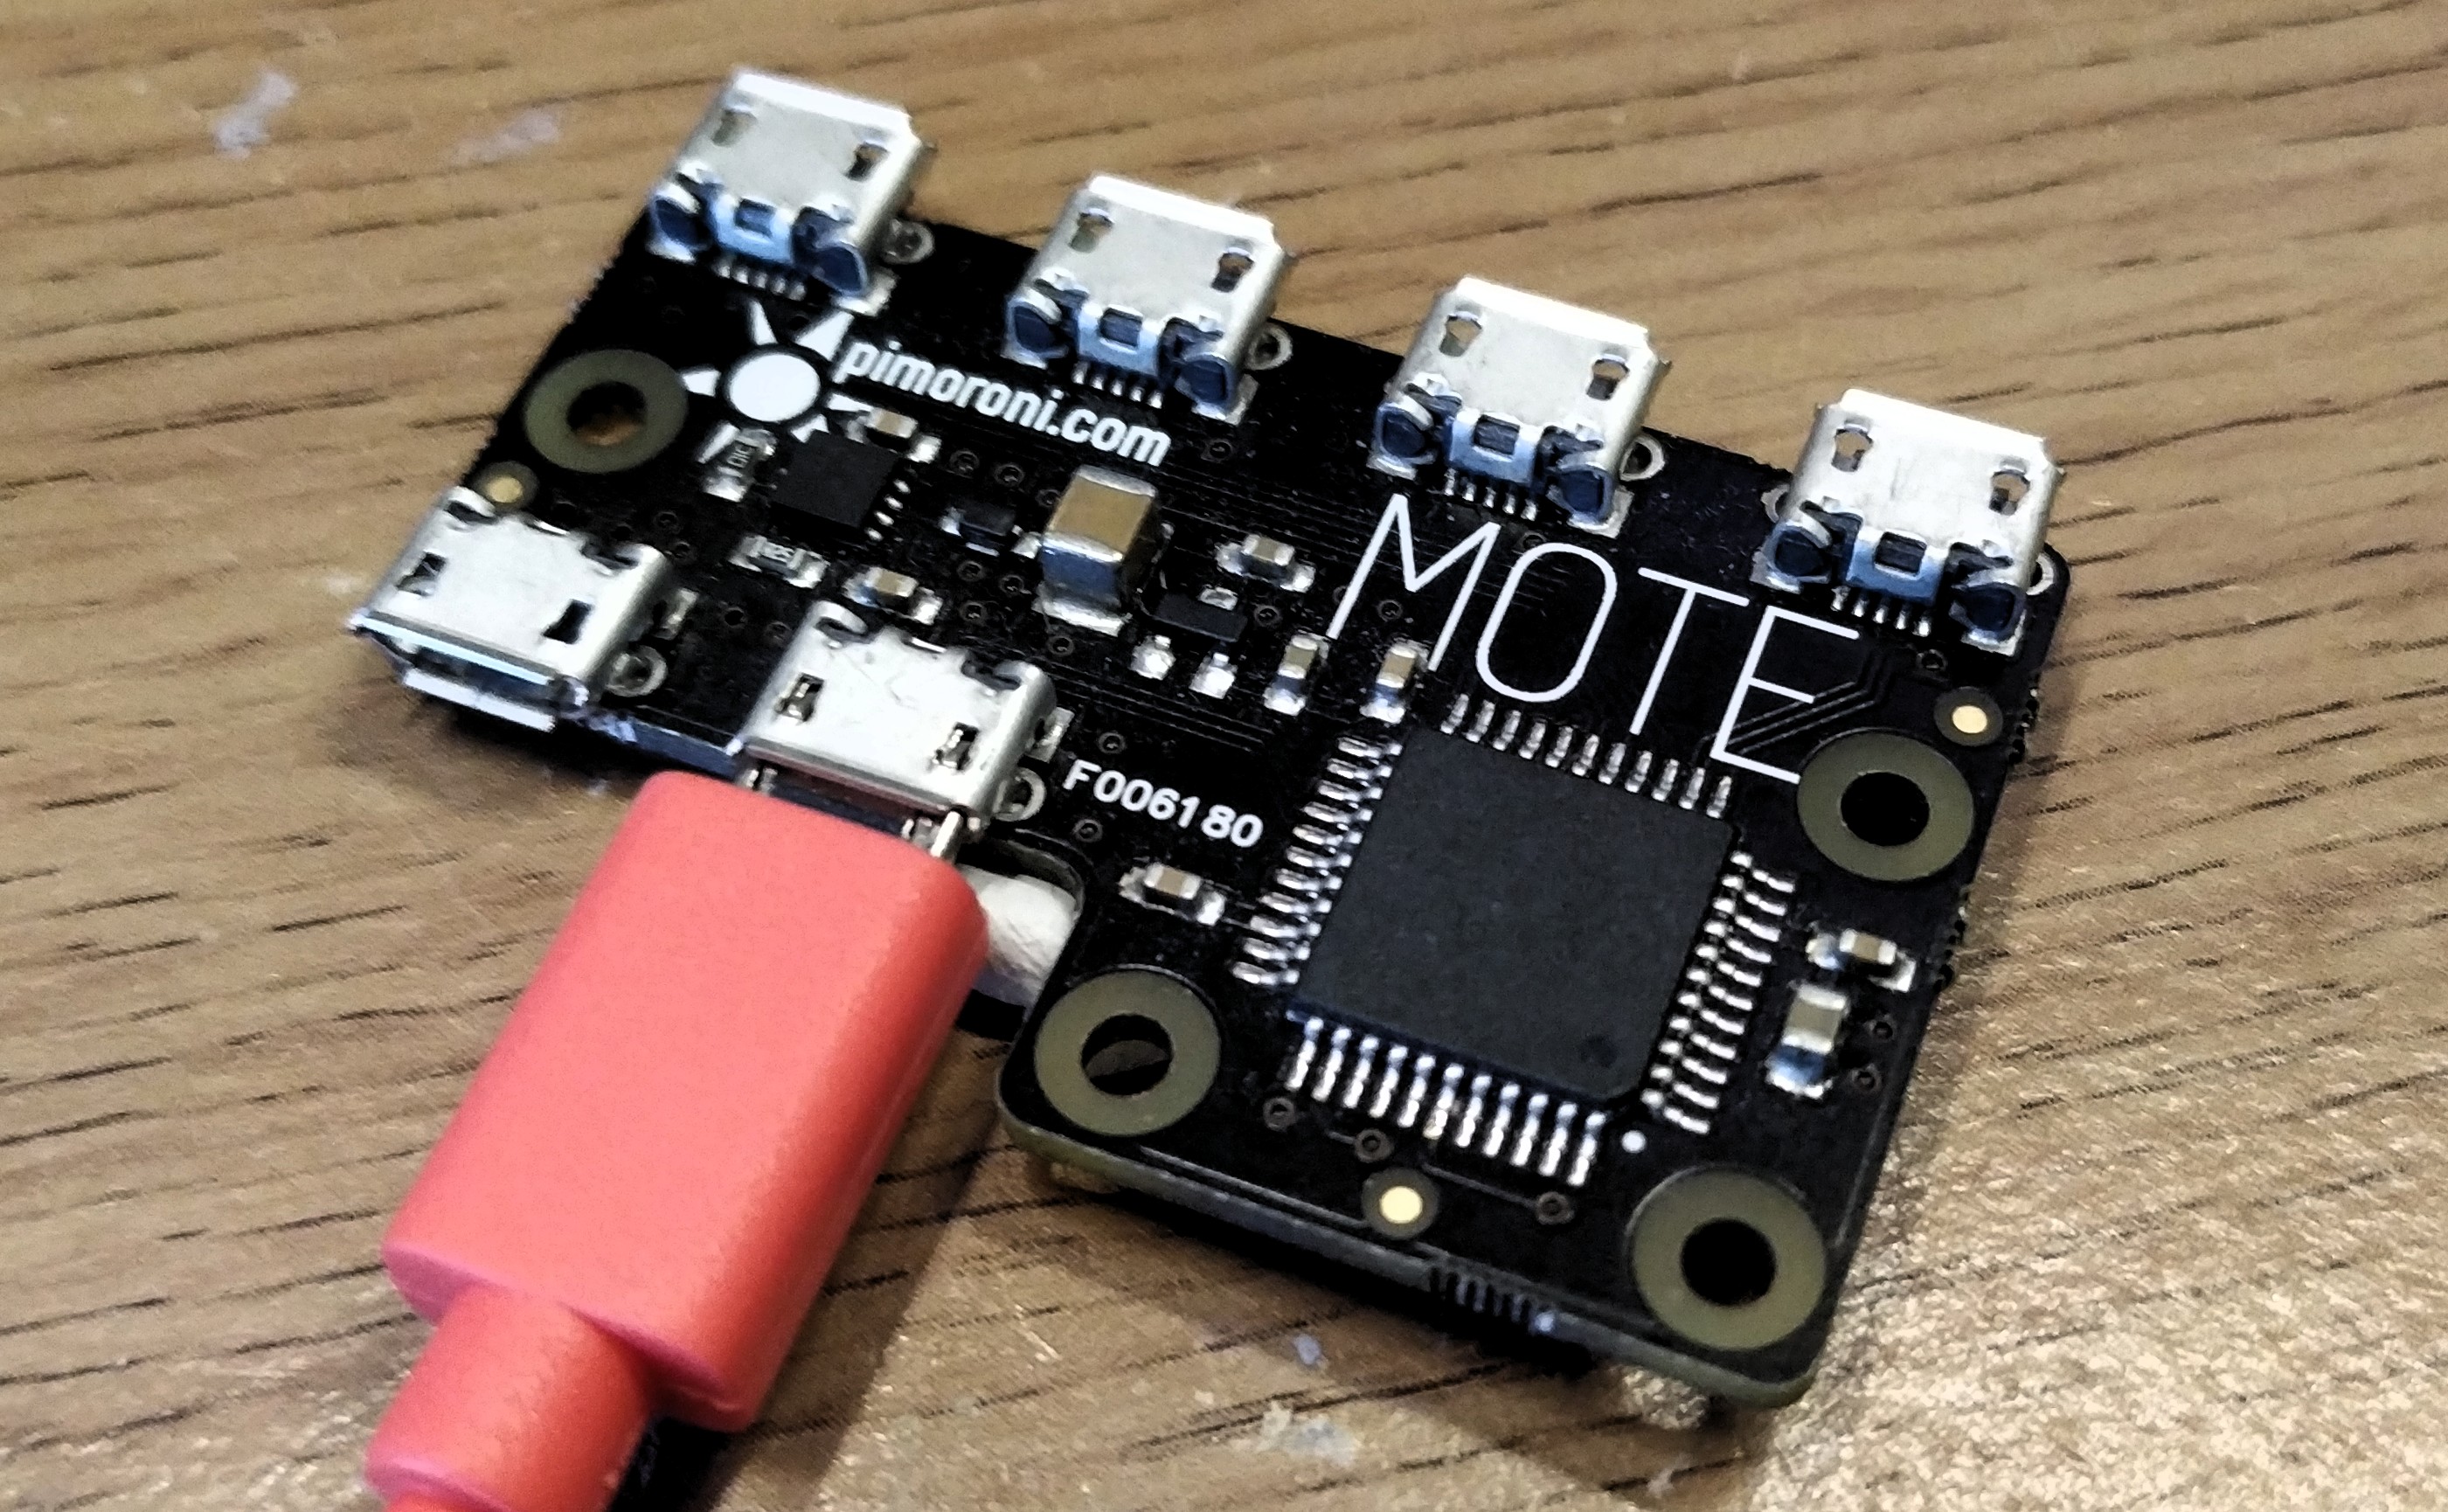
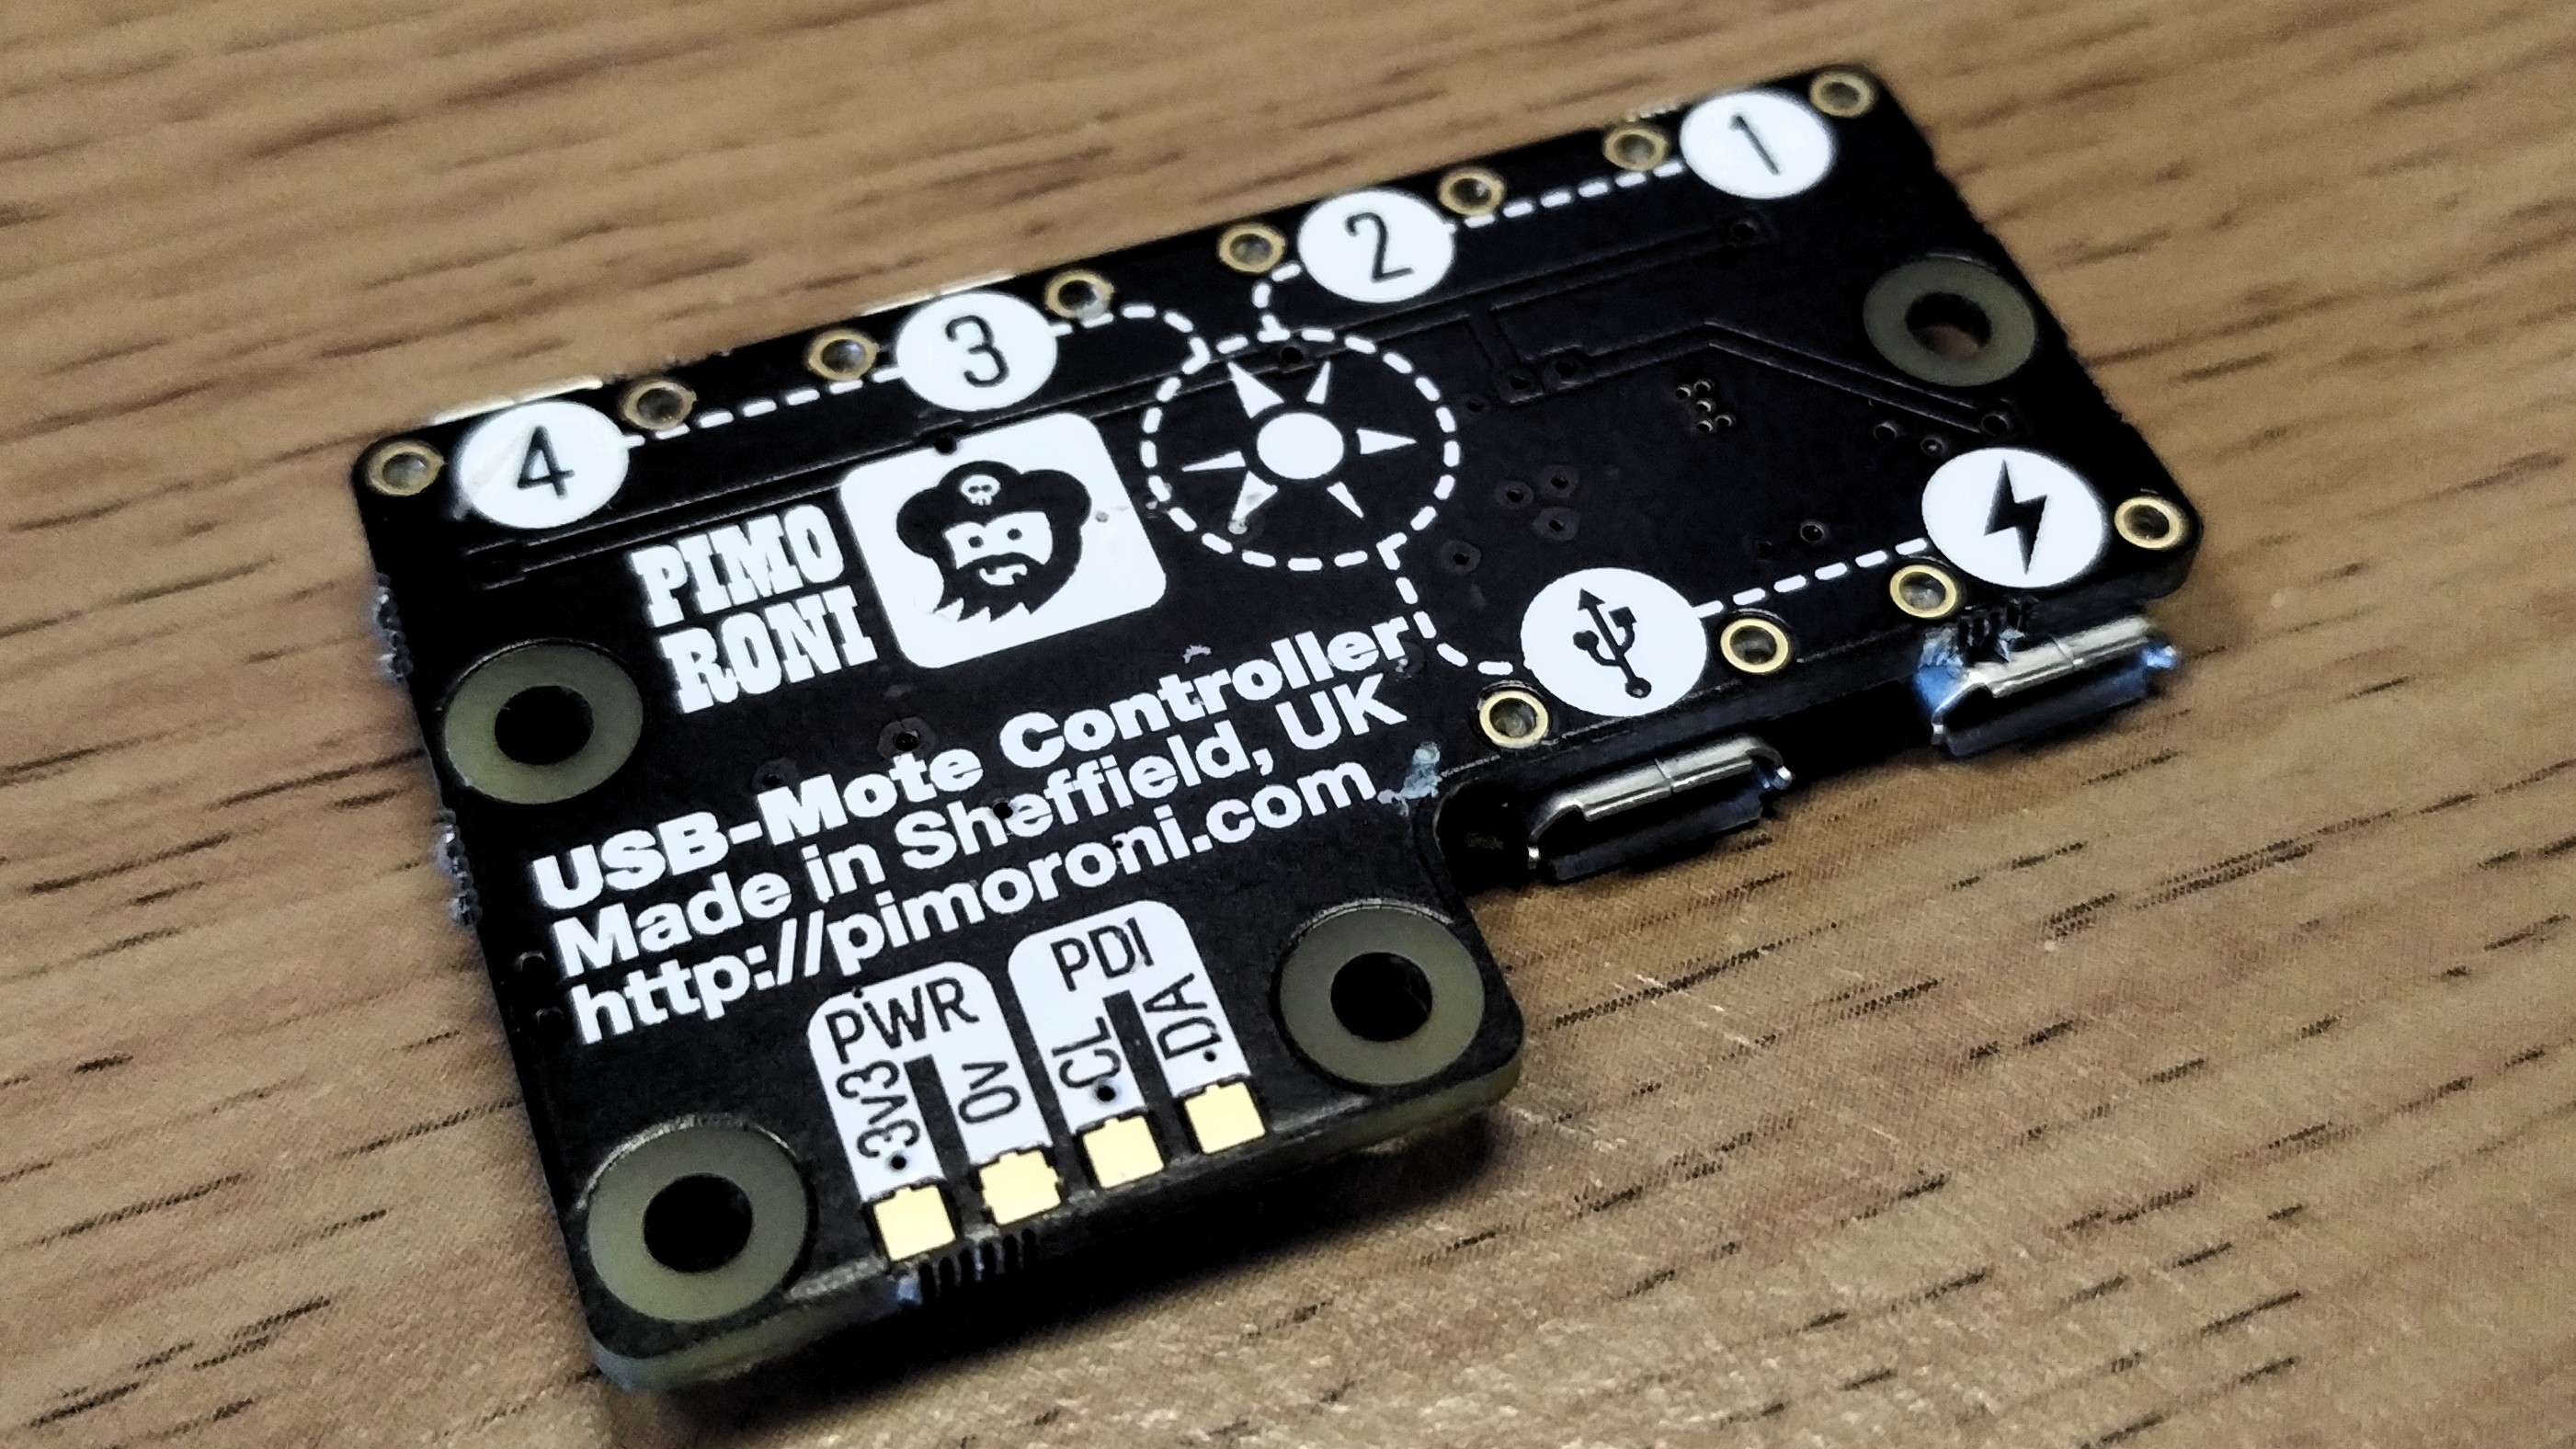
We shall start by inserting the red USB cable into the USB programming port of the USB Mote Controller. The correct port is the one with the USB icon.
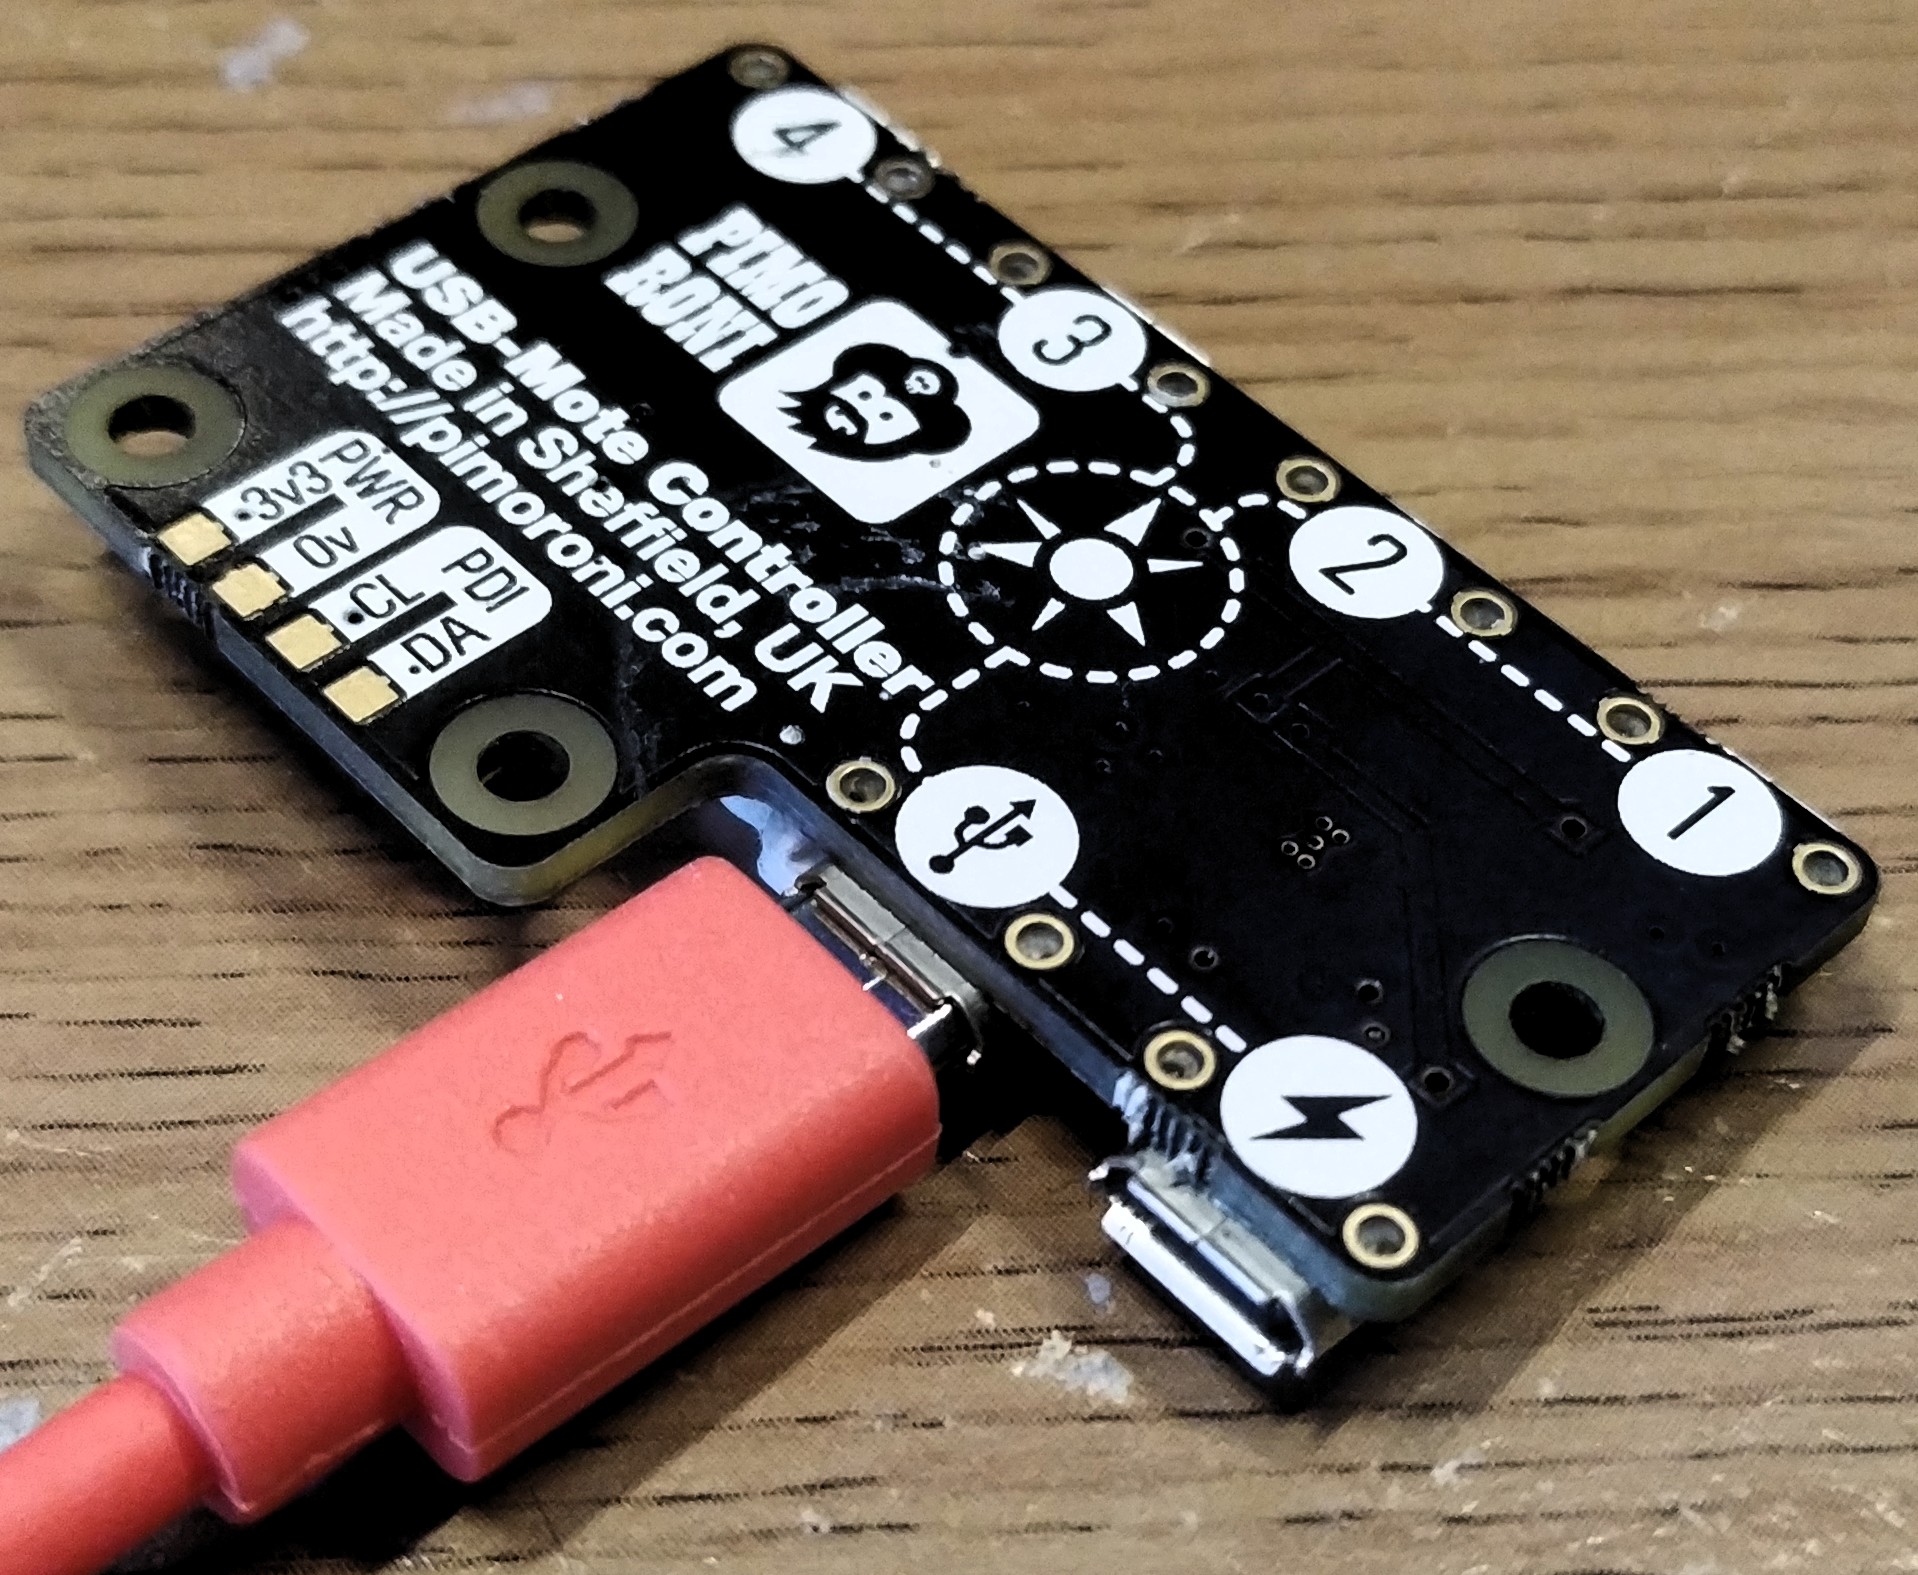
Connect the other end of the USB lead into the computer. This will enable us to later programme the lights, and it can provide power, but for bright lights and best results you will need to plug in a micro USB lead connected to a decent USB power supply.
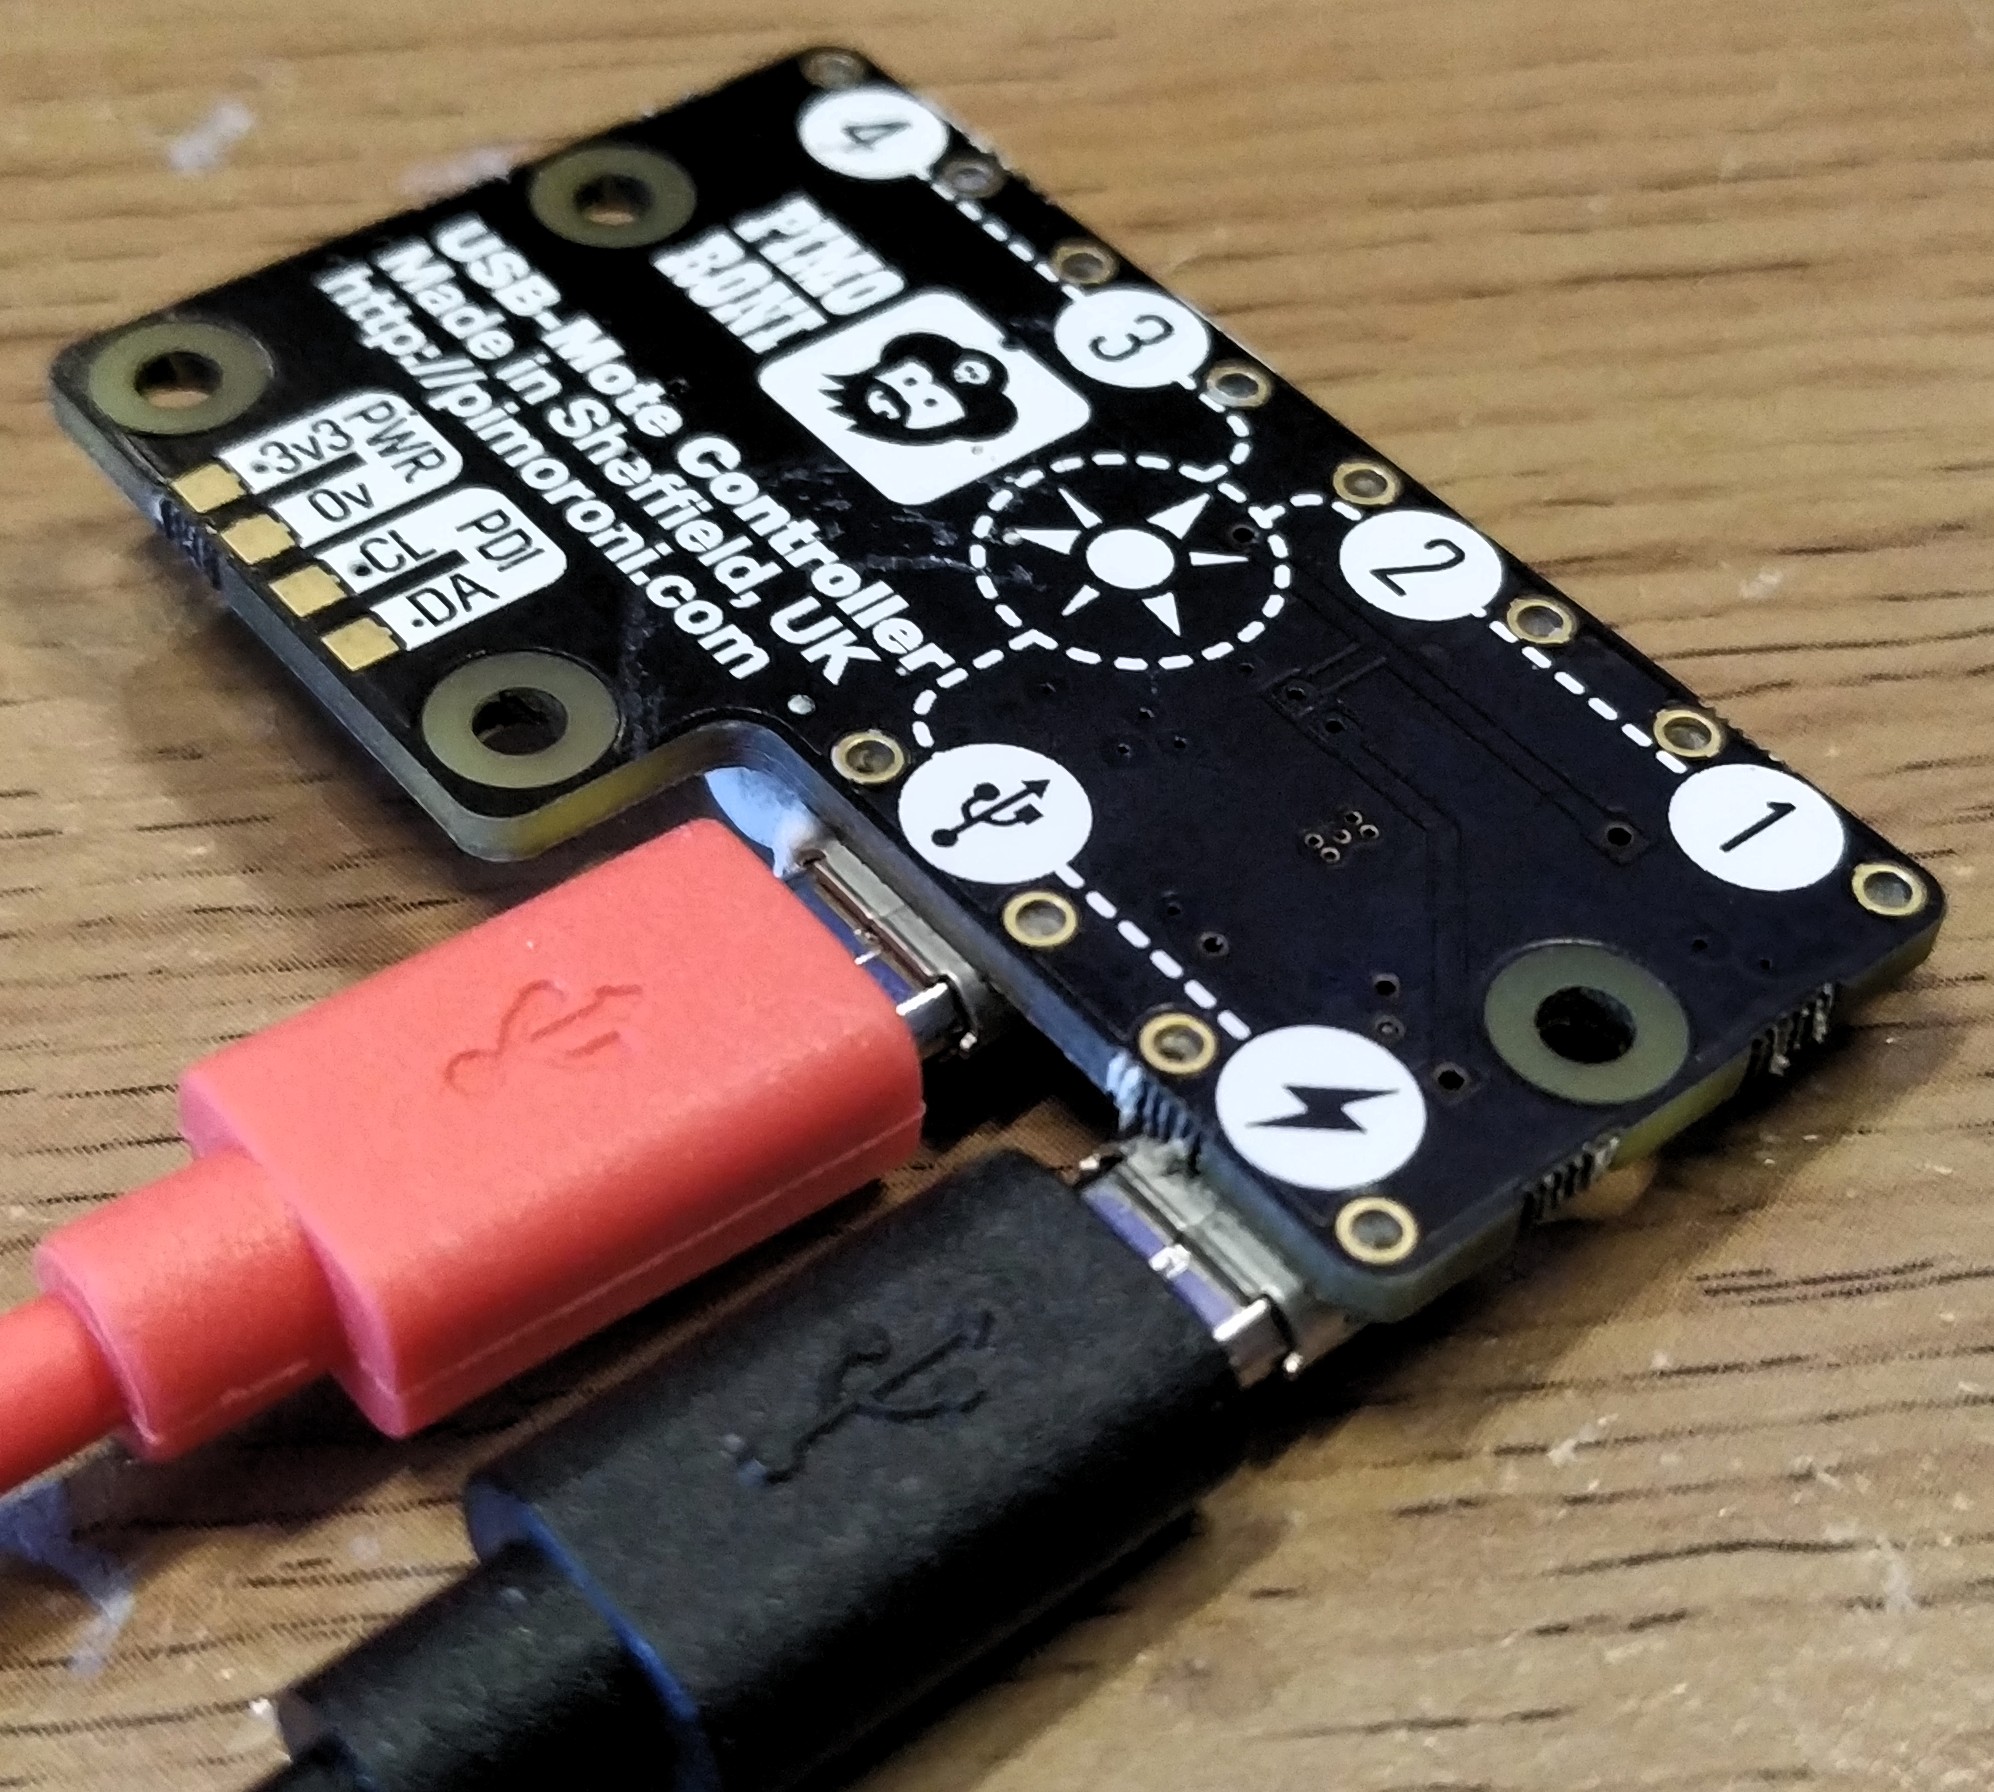
In tests I found that the lights pulled around 1A, which is double what a USB port can supply.
Now connect the four Mote sticks using their bespoke micro USB cables to ports 1,2,3,4 on the controller.
For now keep the setup as is! Don't go attaching it to anything until we have the code running correctly!
Software Installation
Pimoroni Mote
To install the Mote library for Python 3, open a terminal / command prompt and...
Linux / Mac
sudo pip3 install mote
Windows
pip3.exe install mote
Keep the terminal open!
Anvil Uplink
To install the Anvil uplink, which will link our computer to the Anvil web service.
Linux / Mac
sudo pip3 install anvil-uplink
Windows
pip3.exe install anvil-uplink
Optional Step for audio!
If you would like to hear alert sirens / klaxon when setting the alert status, install vlc for Python.
Linux / Mac
sudo pip3 install python-vlc
Windows
pip3.exe install python-vlc
Installation complete! Close the terminal.
Anvil
Open your favourite web browser and visit https://anvil.works and click on START BUILDING to open a login / sign up page.
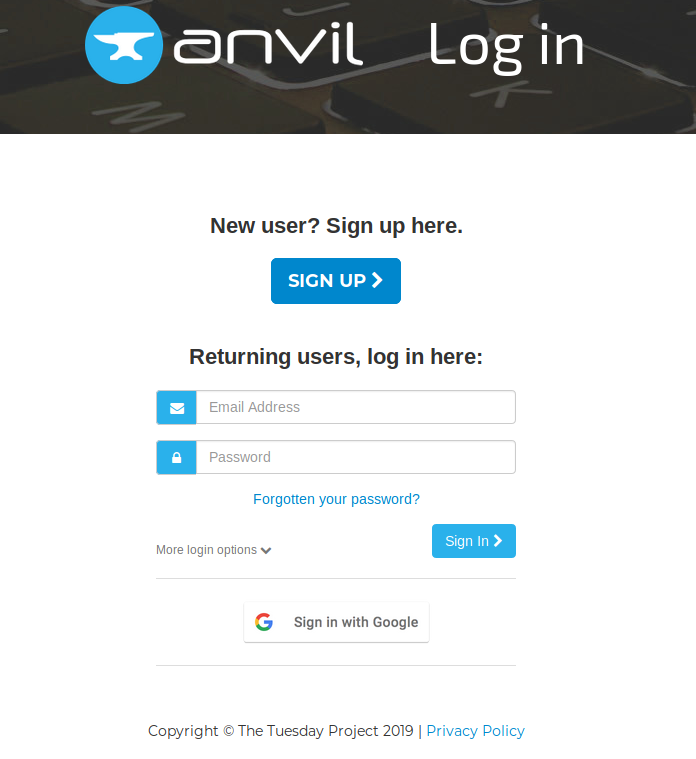
Sign Up / Login for a free account.

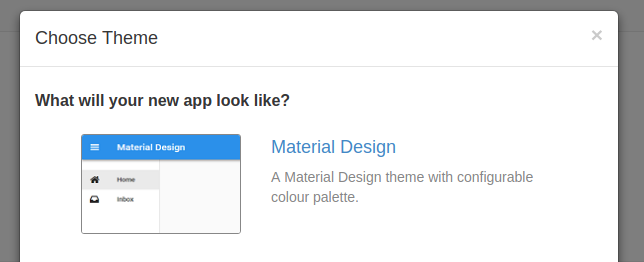
You should now reach a screen like this. Click on Create App + and select the Material Design theme as it is the easiest to work with.
The Anvil Layout
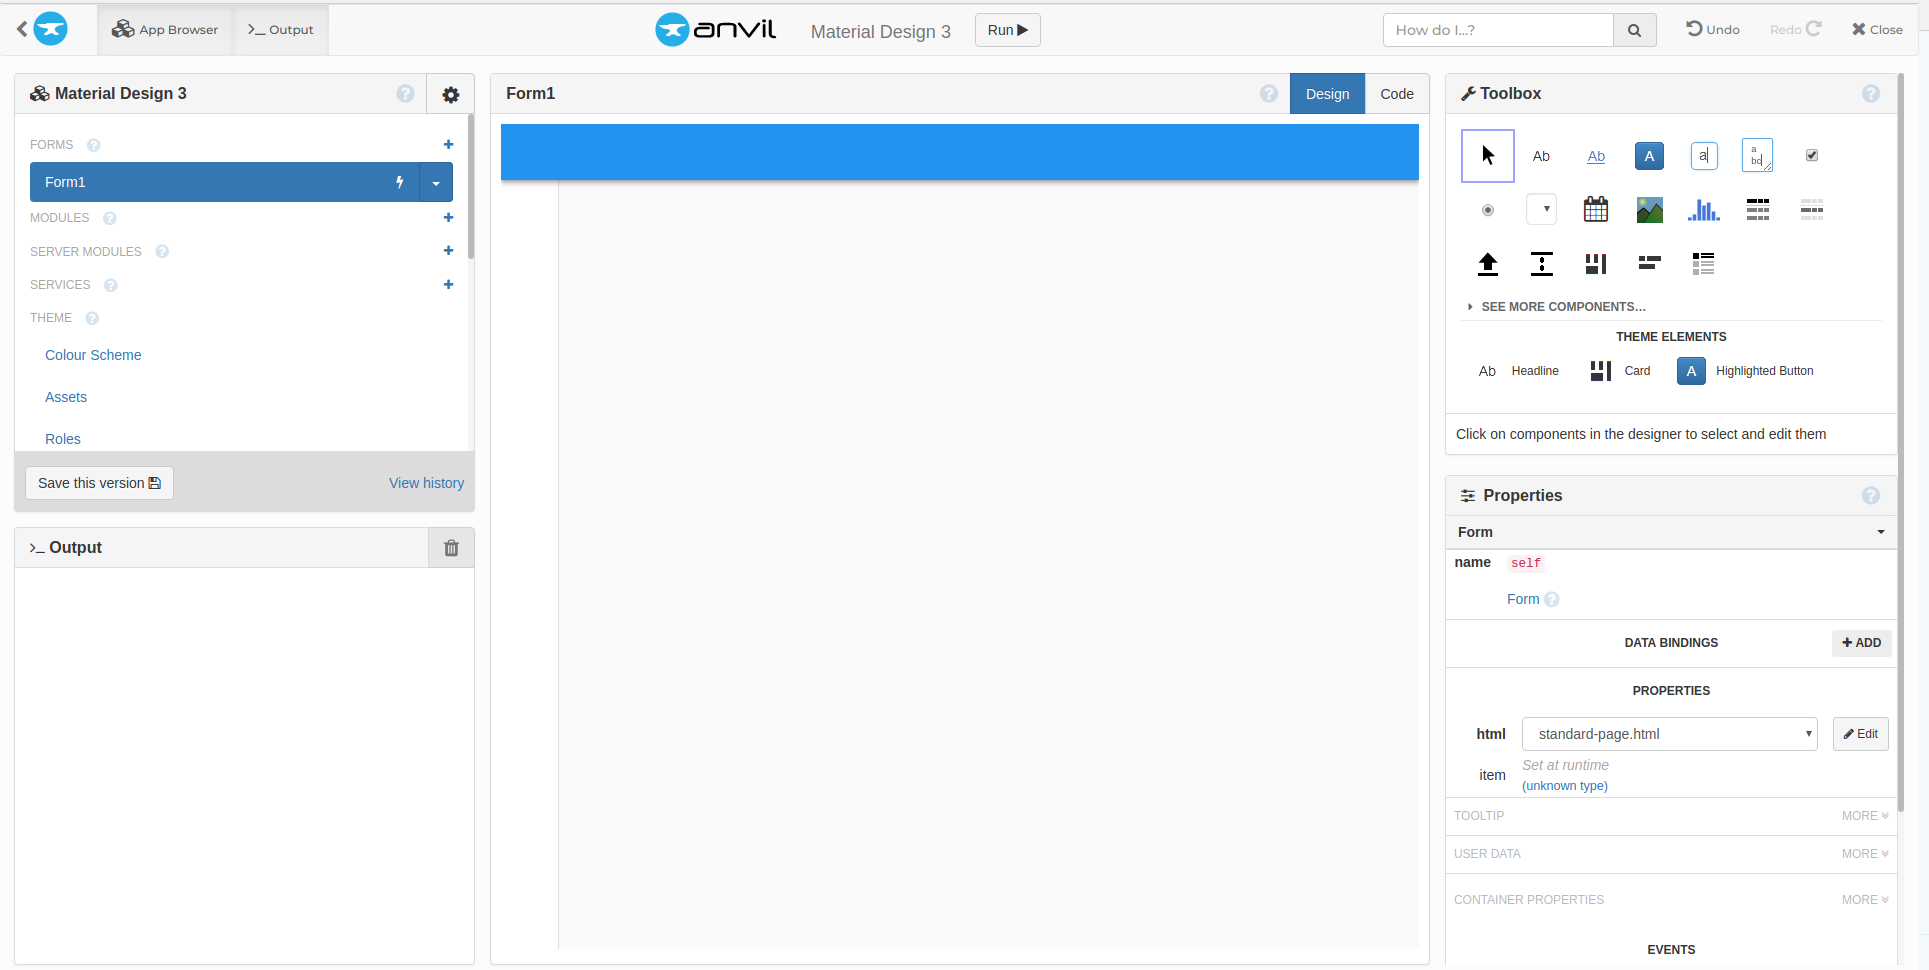
So here we have the main Anvil page. From here we can edit the look of our project and add components. The main centre section is the form that will determine the look and layout of the application. To the right we have a Toolbox which contains the components to build the application. To the bottom right we have the Properties for the form / component that is in use.
Create a title for the application
From the Toolbox click on a label component and drag it into the top left of the form. Drop it and then in Properties change the text field to the title of the app. In my case it was Desk Light Controller but it can be whatever you wish.
Space - The Final Frontier
To add a little space between the title and the contents of the app we shall use a spacer component from the Toolbox.
Push the button
From the Toolbox, click on Button and drag it into the form, under the spacer.
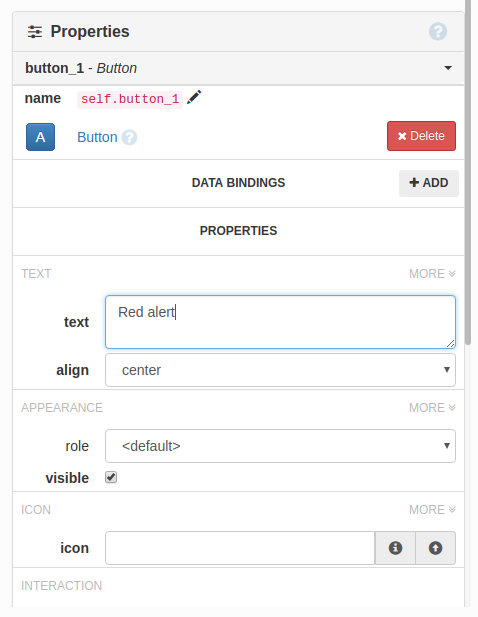
Change the text in the Properties section so that the button is named Red Alert. Note that the Anvil form will use capital letters for the button name.
Red for RED ALERT!!!
In the properties section for the button, look for APPEARANCE and click on more now change the background colour of the button so that it is red, and change the foreground colour (text) so that it is clear. Black or white is good. (Note that there was an issue selecting black from the colour palette, so I hand typed the correct hex code.
Add more buttons
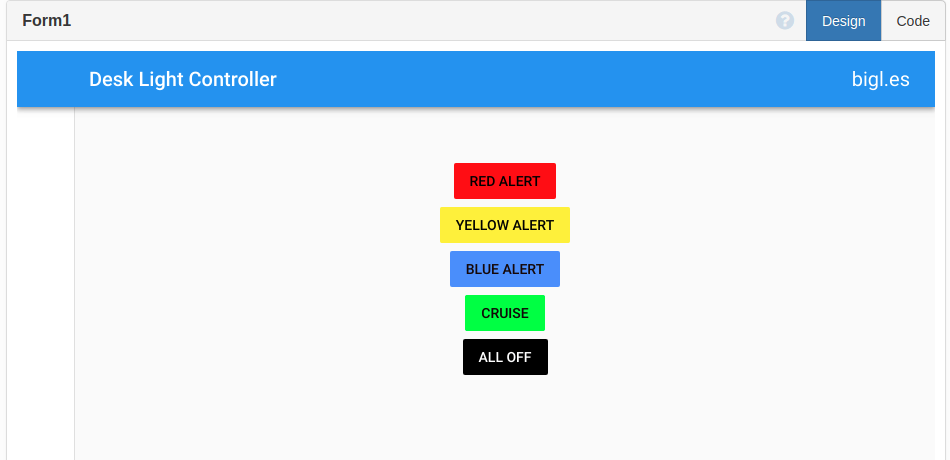
Now there is a requirement for more buttons, so using the same method as for RED ALERT, create more buttons for
- Yellow Alert - Get ready for action!
- Blue Alert - Used in Star Trek Voyager when they land on a planet.
- Cruise - All chilled out natural nice lighting.
- All Off - Turn the lights off!
It may look pretty, but it needs to work
The form which makes our app is complete! But now we need to add functionality behind each press of the button. This is really straightforward but we need to know how to do it.
The simplest way to edit the functionality of a button is to double click on a button and it will open the relevant section in the code for that button - wowzer!
  def button_1_click(self, **event_args):
    """This method is called when the button is clicked"""
    anvil.server.call("red_alert")
    pass
So this is Python code, and it is a function that is called when the button is clicked. In this case it will contact our server which is our computer running the uplink. It will call a function called red_alert which we shall write later. Create your own function such as red_alert and make sure that you remember the name as we need it later on.
For each button we need to double click and edit the code according to its function (Yellow Alert, Blue Alert, Cruise, All Off)
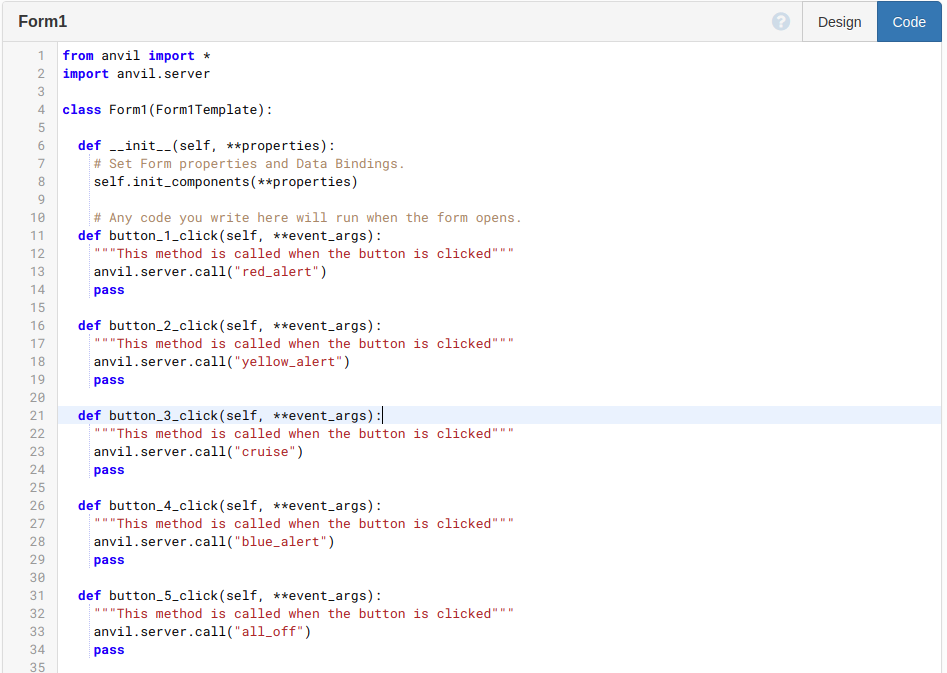
Here is the code for my version.
from anvil import *
import anvil.server

class Form1(Form1Template):

  def __init__(self, **properties):
    # Set Form properties and Data Bindings.
    self.init_components(**properties)

    # Any code you write here will run when the form opens.
  def button_1_click(self, **event_args):
    """This method is called when the button is clicked"""
    anvil.server.call("red_alert")
    pass

  def button_2_click(self, **event_args):
    """This method is called when the button is clicked"""
    anvil.server.call("yellow_alert")
    pass

  def button_3_click(self, **event_args):
    """This method is called when the button is clicked"""
    anvil.server.call("cruise")
    pass

  def button_4_click(self, **event_args):
    """This method is called when the button is clicked"""
    anvil.server.call("blue_alert")
    pass

  def button_5_click(self, **event_args):
    """This method is called when the button is clicked"""
    anvil.server.call("all_off")
    pass
Uplink code!
In order to enable a connection between the Anvil app and the code running on the uplink server(our computer) we need to get an uplink Server code so click on the settings cog, top left of screen, and select Uplink...
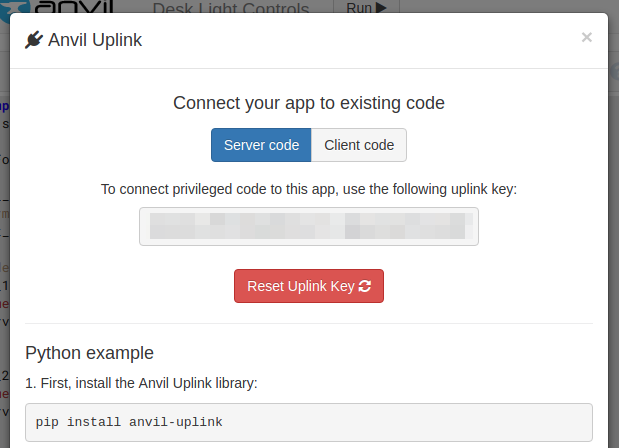
A new window will pop up, copy the uplink key and keep it safe, oh and don't share it. :)
Controlling the Mote Lights
We now move away from Anvil and start writing the code to control the Motes connected to our computer.
Using your favourite Python 3 editor, create a new file and save it as desk-light.py and remember to save often!
Importing libraries
The first four lines of Python are imports that will enable us to connect to the anvil service, use vlc for audio playback, control the Mote sticks and control the pace at which the lights will change.
import anvil.server
import vlc
from mote import Mote
from time import sleep
Configuration
Here we create an object called mote that will be used to call the mote functions from the library, in other words we can use the pre-written code to make lights flash!
mote = Mote()
Then we use a for loop that will iterate four times to configure each of the mote sticks connected to the USB controller. The configure_channel function takes three options, the mote stick to configure (1 to 4), the number of LEDs on the stick (16) and using False will disable gamma correction.
for i in range(1,5):
    mote.configure_channel(i, 16, False)
The next two lines turn off the LEDs on the Mote sticks, then show the change. Then we create a function called delay which is used to control how quickly the LEDs will later turn on.
mote.clear()
mote.show()
delay = 0.01
Red Alert!!!
On to the first of five functions, one for each button that we created in Anvil. In order for our code to be seen by the Anvil app, we need to use a decorator.
@anvil.server.callable
This tells Anvil that we can call the function from the app. The first function being our red_alert button.
We start by defining the name of the function, and this must match what is written in the code section of Anvil! Then inside the function we print the alert status to the Python shell (debug step.) Two optional lines are creating a media object which will store the location of the redalert.mp3 file, and then we play that file.
def red_alert():
    print("RED ALERT")
    media = vlc.MediaPlayer("redalert.mp3")
    media.play()
Where can I get audio files from?
I went to trekcore.com as they have loads of Star Trek audio files!
To match the same duration of the redalert.mp3 I downloaded, I created a for loop that iterates seven times. Inside that loop I used another for loop to control all four Mote sticks at once. Then I used another for loop inside the previous to control all 16 LEDs on each stick at once!
    for i in range(7):
        for channel in range(1,5):
            for pixel in range(16):
So what do I want the LEDS to do? Well I want to set all the LEDs on every stick to red, which is 255,0,0 in RGB colour code. Then I want there to be a 0,01 second delay between each LED changing colour, then I want to show the change. Remember that delay is a variable at the top of the code with the 0.01 value inside it.
                mote.set_pixel(channel, pixel,255,0,0)
                sleep(delay)
                mote.show()
That will set the LEDs red, but I want to create a flashing / strobe effect so using another for loop, indented to match the for channel in range(1,5) loop created earlier, I change the colour of the LEDs so that they are off 0,0,0 effectively.
        for channel in range(1,5):
            for pixel in range(16):
                mote.set_pixel(channel, pixel,0,0,0)
                sleep(delay)
                mote.show()
Yellow Alert!!!
Next function is for yellow alert, and in the show the lights are static, always on for yellow alert, so this function is alot simpler. We reuse the same for loop to control all four Mote sticks at once, then another for loop to control all 16 LEDs on each stick at once. We set the LEDs to 128,128,0 which is a fair approximation of yellow.
@anvil.server.callable
def yellow_alert():
    print("YELLOW ALERT")
    for channel in range(1,5):
        for pixel in range(16):
            mote.set_pixel(channel, pixel,128,128,0)
            sleep(delay)
            mote.show()
Blue Alert!
This is a copy / paste of RED ALERT! but obviously changing it to refer to the blue_alert function, play a bluealert.mp3 file and set the LEDs to blue 0,0,255.
def blue_alert():
    print("BLUE ALERT")
    media = vlc.MediaPlayer("bluealert.mp3")
    media.play()
    for i in range(7):
        for channel in range(1,5):
            for pixel in range(16):
                mote.set_pixel(channel, pixel,0,0,255)
                sleep(delay)
                mote.show()
        for channel in range(1,5):
            for pixel in range(16):
                mote.set_pixel(channel, pixel,0,0,0)
                sleep(delay)
                mote.show()
Cruise Control
When not battling the Borg / Hirogen / Romulans I like to be in cruise mode, which is really Yellow Alert but with the LEDs set to make a pleasant yellow / white light.
@anvil.server.callable
def cruise():
    print("Cruise")
    for channel in range(1,5):
        for pixel in range(16):
            mote.set_pixel(channel, pixel,128,128,64)
            sleep(delay)
            mote.show()
All Off
When not on the bridge, I like to turn the lights off, saves power and its cool because Data can see in the dark. This simple turns off every LED on every Mote stick.
@anvil.server.callable
def all_off():
    print("all off")
    for channel in range(1,5):
        for pixel in range(16):
            mote.clear()
            mote.show()
Final two lines of code!
Now out of the functions and our final two lies of code are a connection to the Anvil app and a function to instruct the code to keep waiting and never close.
anvil.server.connect("SUPER SECRET UPLINK KEY THAT YOU WROTE DOWN...RIGHT???")
anvil.server.wait_forever()
Save the code!
Take it for a test drive!
In the Python editor, run your code! If it has connected successfully then you should see something like this.
Connecting to wss://anvil.works/uplink
Anvil websocket open
Authenticated OK
Anvil server output: You're using the Anvil Free plan. Upgrade at https://anvil.works/
Now go back to Anvil and look just above the form for the RUN > button, click it and it will connect to the uplink server (computer) running the code. Now press one of the buttons to check that the sticks light up correctly. Once you are happy then affix the mote sticks to where you want them.
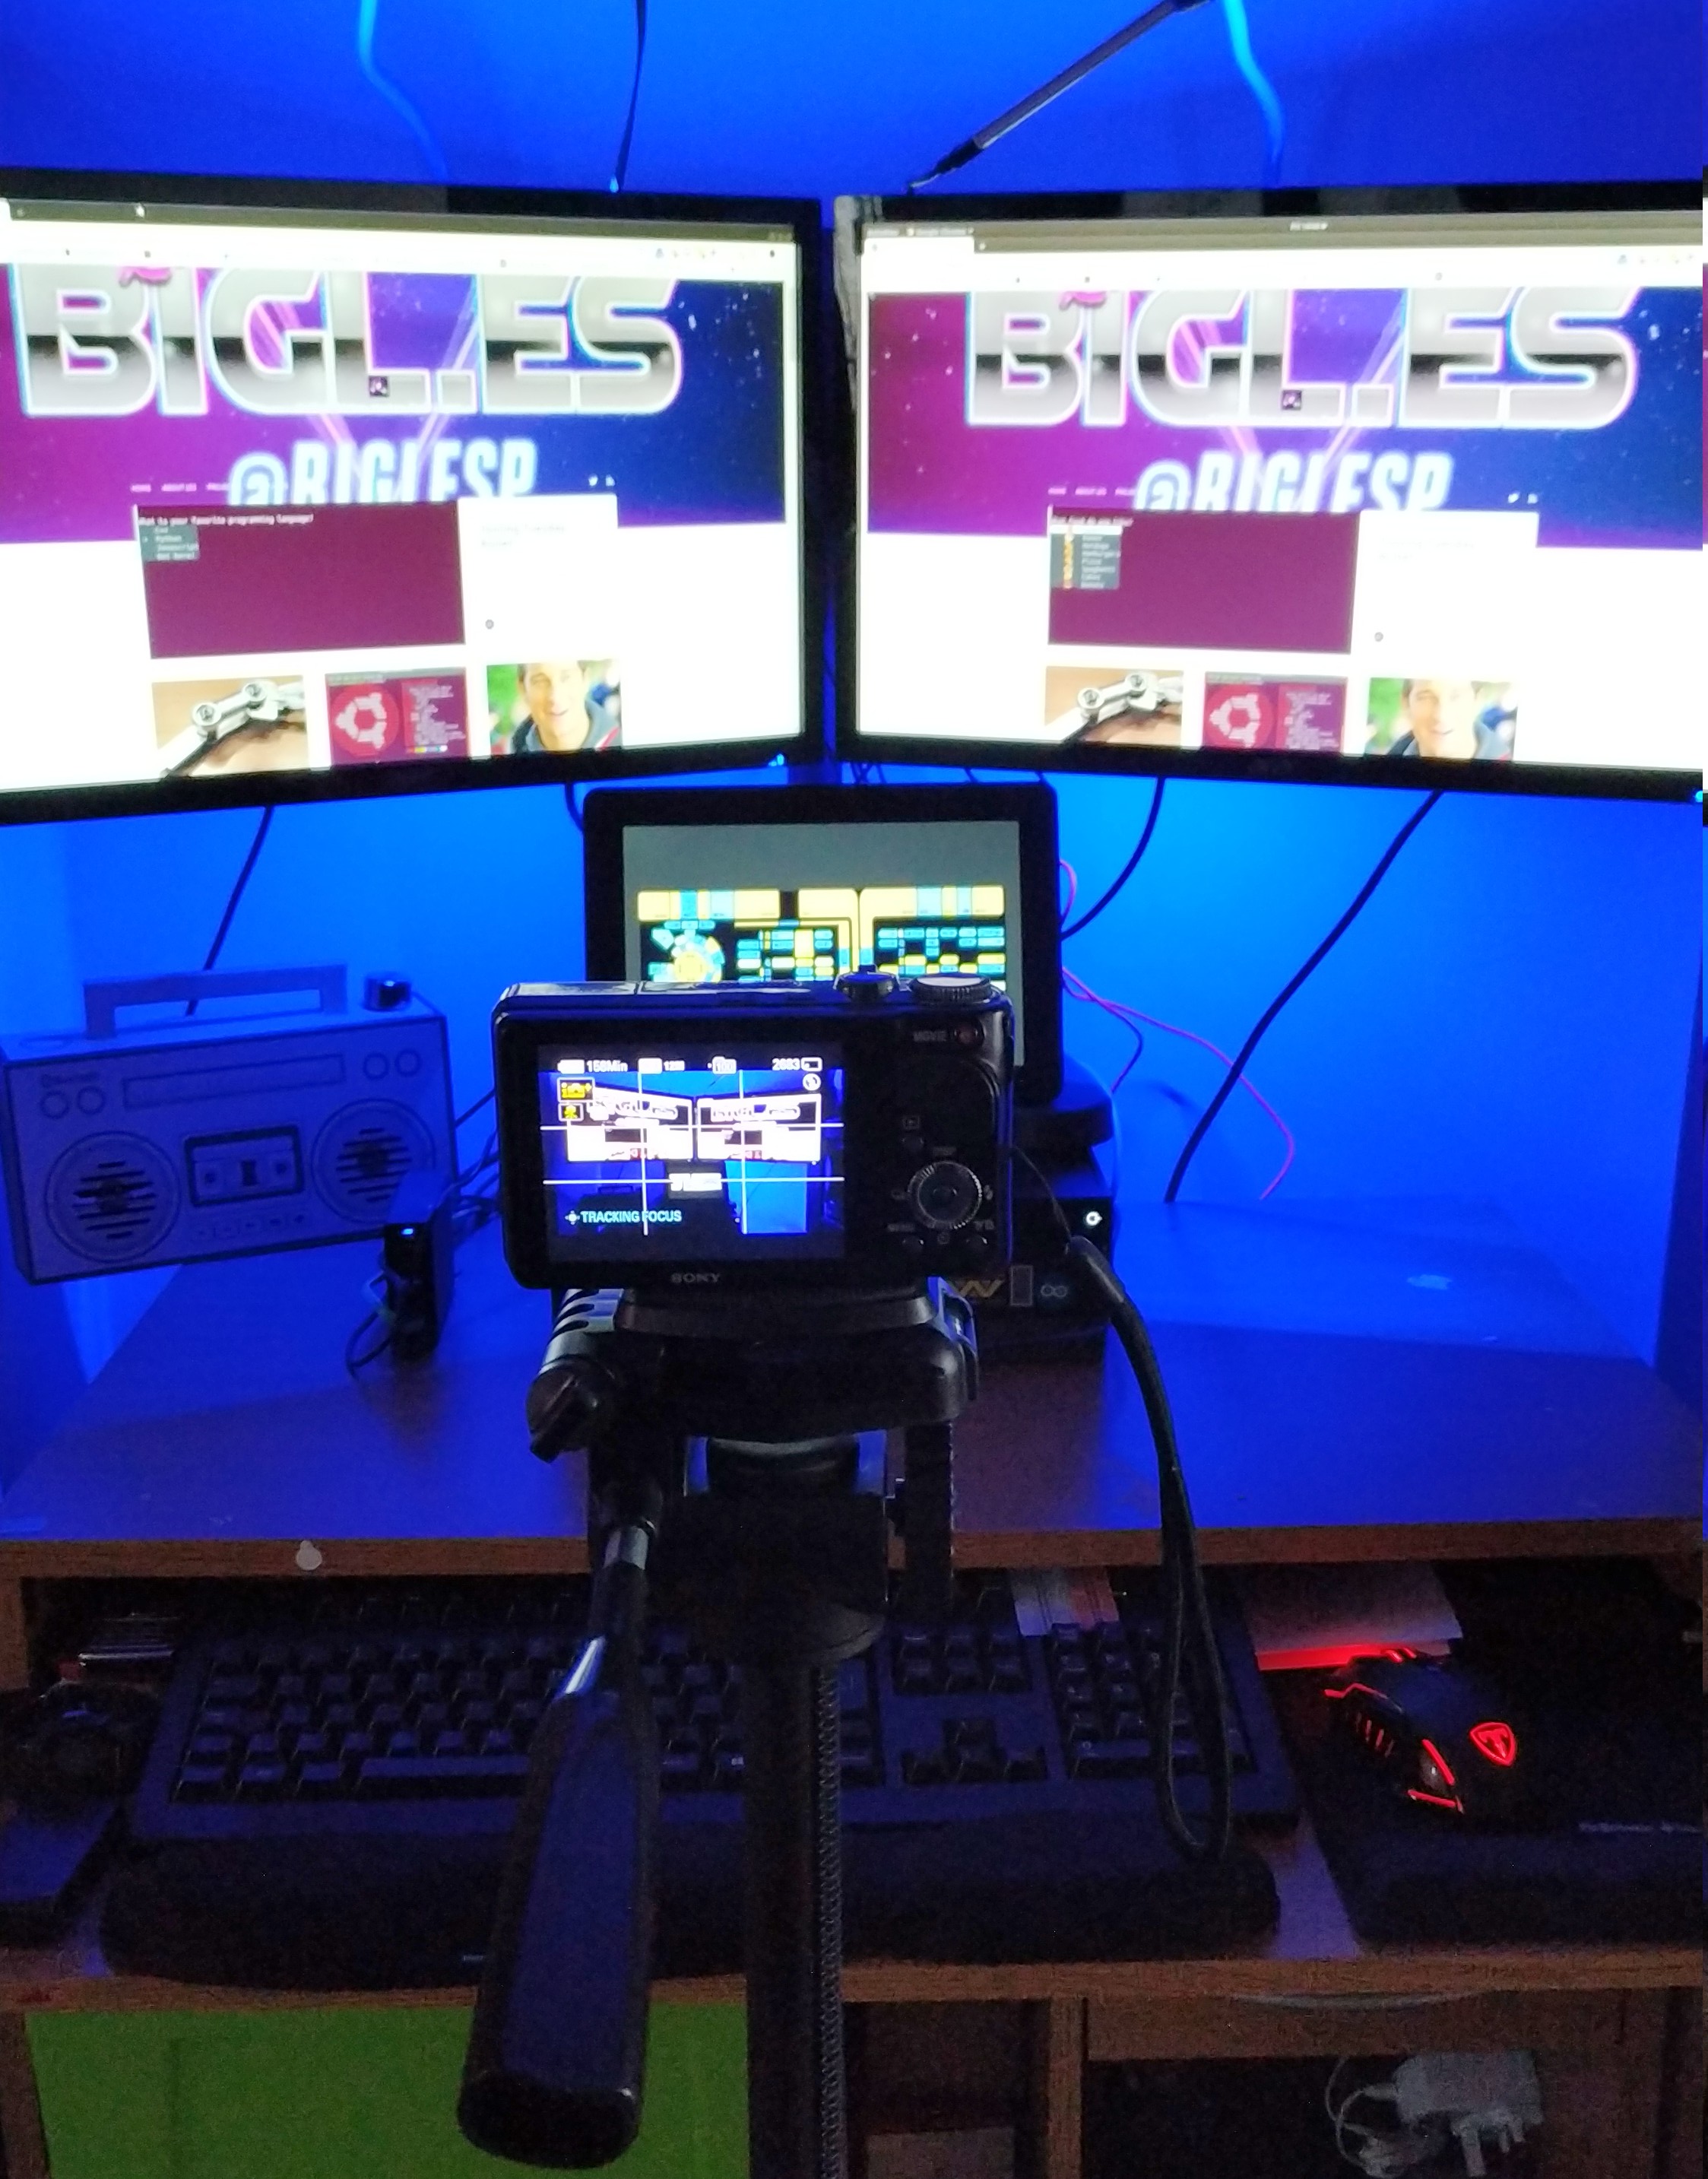
For me I wanted them around my monitors for an ambient glow.
So using then net curtain rod hooks I affixed the sticks to the rear of the monitors, remembering to keep the micro USB port pointing to a central location between the monitors.
That's it!
We made a web app that controls the desk lights! Sure this was a long blog post but we learnt a lot today. Anvil is a great tool for web interfaces as it makes the job of designing and working with an interface so easy. The uplink tool is simplicity and we can use that to send and receive data from the uplink server! In a tutorial for electromaker.io I use Anvil to show live temperature sensor data in a web app.
I really do love Anvil for projects that need a web interface.
Happy Hacking!