Using Python to get weather data
Being British I have an unatural obsession with the weather. In a taxi my opening gambit is usually "Well, isn't the weather nice/wet/cold ?" to which the poor driver responds with a grunt or explains how weather systems works and then exceeds my level of comprehension.
Following my obsession with the weather, I have been investigating the various Python libraries that offer to bring weather data into my Python projects.
At the back of class for Picademy, where all the naughty kids were...

I was hacking away on the weather API after having a chat with Chris the day previous. In 15 minutes I mashed this together.
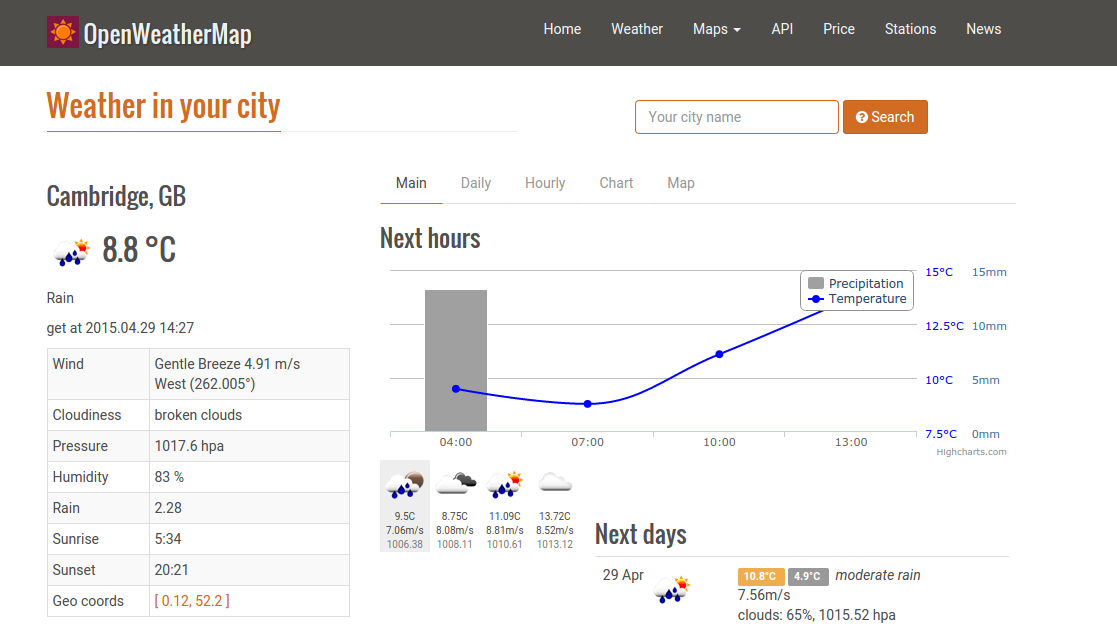
My current favourite is Open Weather Map which is an open source API for weather data, and it comes with a great Python library.
First step - Get the key!
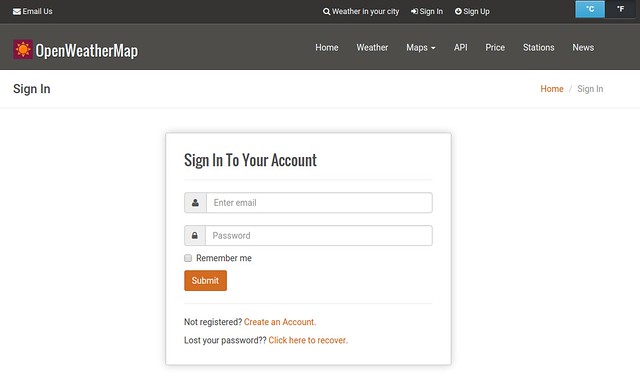
You will need to register with the Open Weather Map website to receive an API key. Once you have your key, keep it safe and don't share it online as it is used to identify you when using the service.
Second Step - Snake Charmer!
With our API key in hand we now need to download the Python library for Open Weather Map, and that is called pyowm.
We will download and install the version for Python 3.
Windows
If you are following this post using a Windows machine, you will need to be connected to the Internet and do the following.
- Open a command prompt
- Navigate to the Python34 folder, typically it's in C:\Python34\Scripts
- List the contents of the folder by typing dir, you should see pip3.4.exe
- Type pip3.4.exe install pyowm to install the library.
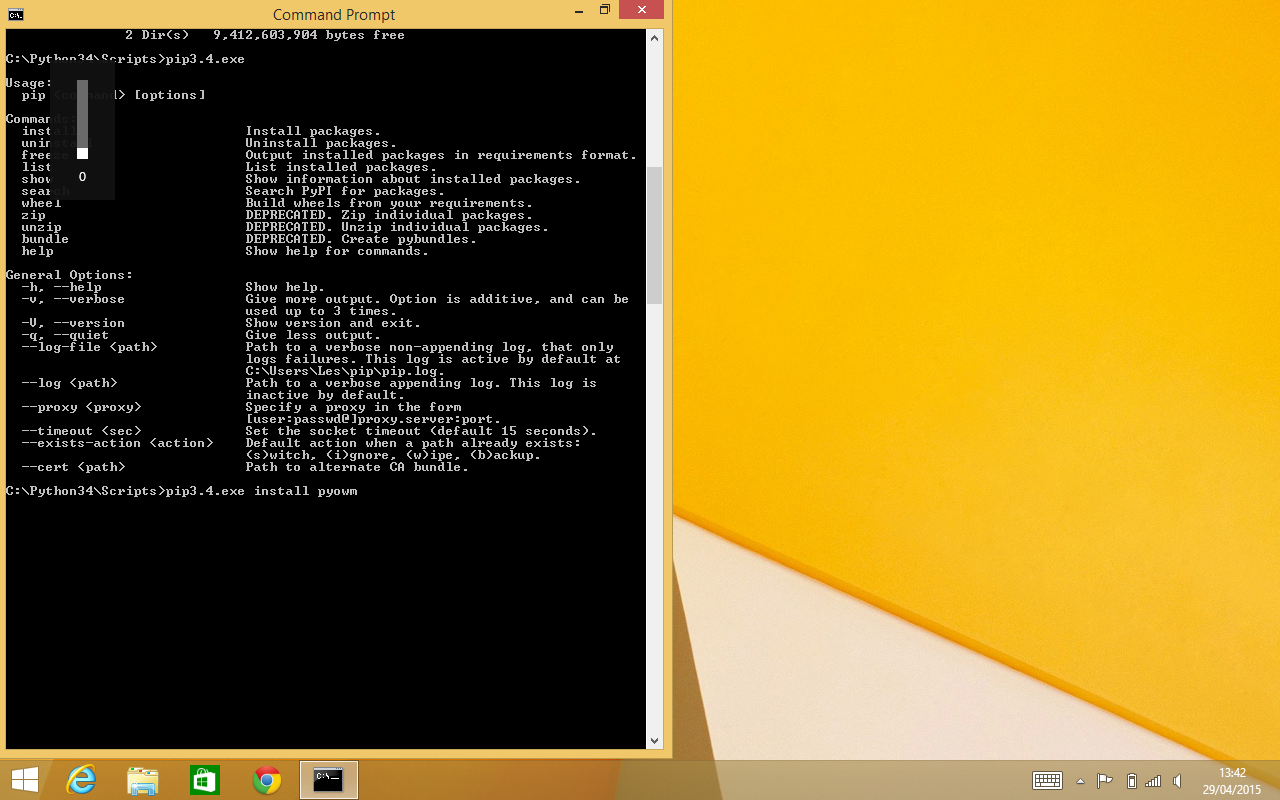
That's it for Windows you can close the command prompt and move on to the IDLE section below.
Raspberry Pi
If you are following this post using a Raspberry Pi, you will need to be connected to the Internet and do the following.
- Open the terminal
- Type in sudo pip3.2 install pyowm (NOTE You can also use pip3 instead of pip3.2, depending on which version is installed on your Pi
- Enter your password
That's it for Windows you can close the command prompt and move on to the IDLE section below.
Step Three - Hacky Hacky!
IDLE
IDLE is the default Python editor and it comes bundled with Python for Windows and pre-installed on a Raspberry Pi. We want to use the version for Python 3, in Windows look IDLE (Python 3.4 GUI) and on your Raspberry Pi navigate to the Raspbian main menu and look for Programming and select Python 3

No matter which computer you use, IDLE is very much the same. So let's write some code!
Open a new file and save it as weather.py before moving on.
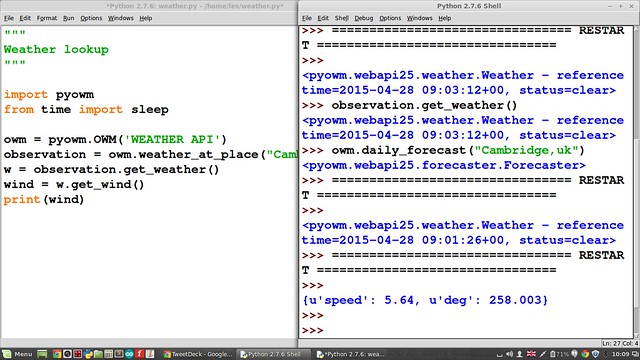
I start the code by importing the pyowm library that will get weather information.
import pyowm
Next I create a variable called owm, which will be used to shorten and contain my API key. This makes it easier to work with.
owm = pyowm.OWM('PASTE YOUR API KEY IN HERE')
Now we create another variable called observation that will set the location that we wish to use for our weather query, this works for any location...IN THE WORLD. It even works with postal and ZIP codes.
observation = owm.weather_at_place("Cambridge,uk")
Our next variable is simply called w and we use this variable to shorten the function that will gather the weather data for your location.
w = observation.get_weather()
Our last variable is called wind and we use it to capture the wind speed and direction.
wind = w.get_wind()
Our last two lines of code are two simple print functions that will print the contents of the variables w and wind
print(w)
print(wind)
Your code should now look like this.
import pyowm

owm = pyowm.OWM('PASTE YOUR API KEY IN HERE')
observation = owm.weather_at_place("Cambridge,uk")
w = observation.get_weather()
wind = w.get_wind()
print(w)
print(wind)
Save your work, and then click on Run >> Run Module menu to launch the code.
You should see somehting like this
<pyowm.webapi25.weather.Weather - reference time=2015-04-29 13:22:09+00, status=clouds>
{'speed': 5.56, 'deg': 204.502}
This shows us that the weather in Cambridge, UK is cloudy, and there is a 5.56Mph wind coming from 204 degrees, so a South South West wind.
If you would like to know the termperature then you can add another variable called temperature and add this code.
temperature = w.get_temperature('celsius')
Remember to add a print function to return the contents of the variable.
print(temperature)
Save and run the code again. Woo hoo we can see the temperature!
But, will I need an umbrella tomorrow or will it be shorts and t-shirt? Well fear not you can forecast the weather using another variable called tomorrow and adding this code.
tomorrow = pyowm.timeutils.tomorrow()
Remember to add a print function so that you can see the contents.
print(tomorrow)
The final code will look like this.
import pyowm

owm = pyowm.OWM('PASTE YOUR API KEY HERE')
observation = owm.weather_at_place("Cambridge,uk")
w = observation.get_weather()
temperature = w.get_temperature('celsius')
tomorrow = pyowm.timeutils.tomorrow()
wind = w.get_wind()
print(w)
print(wind)
print(temperature)
print(tomorrow)
Again, save the code and run it, the Python shell will come to life and show the foloowing weather data.

So there we have it, a whistlestop tour of using Python to predict the weather. You could add this code to a Minecraft script and display the weather by changing the Minecraft world. You could use a Pibrella to trigger the script via the big red button, when it is cold/wet the red light flashes and it plays the buzzer fail noise, sunny days get the green LED and the buzzer success noise.
Hack it, make it your own project and tell the world what you have made.
If you would like to learn more about the pyowm library, head over to the fantastic library's home on Github
Great work by Claudio Sparpaglione!!!