I'm in the mood...for hacking
Blinkies...everywhere!
You may have noticed, but there was another Raspberry Pi released the other day. Yes we now have the new Pi Zero W, the W stands for Wireless, obvs!
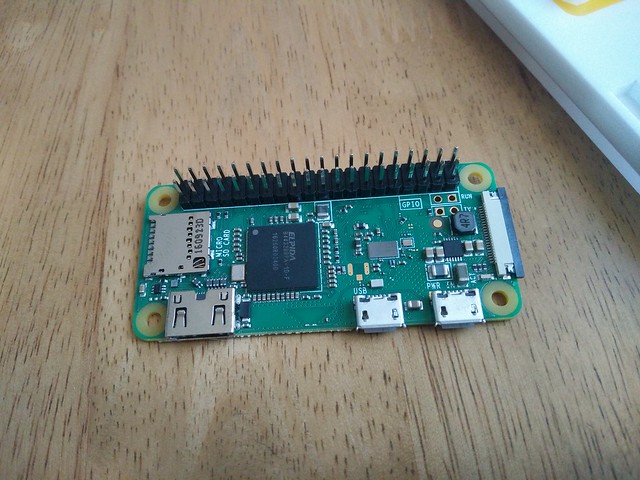
So now we have a Pi Zero with WiFi (b,g,n) and Bluetooth 4.0, all for $10, bargain for Internet of Things and embedded projects.
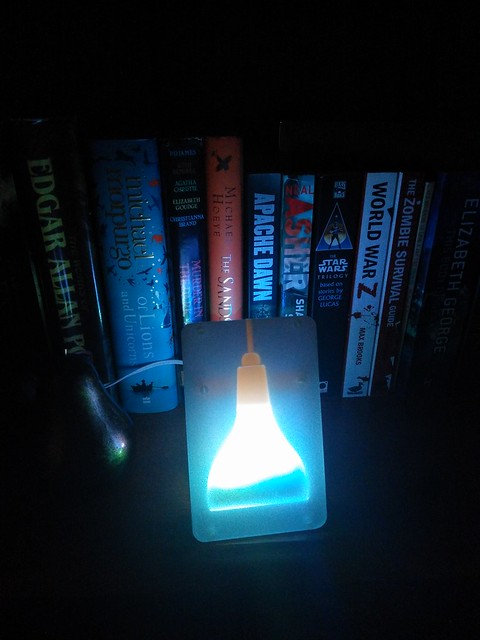
Spending a little quality time with @pimoroni mood light pic.twitter.com/HYZGrgB5Ib
— biglesp (@biglesp) March 6, 2017
Kits

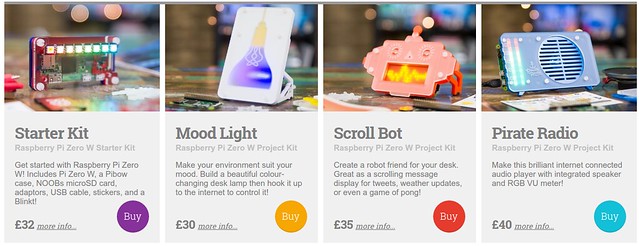
One of the surprises for the Pi Zero W launch, were a series of kits from Pimoroni. These kits contain all of the parts that you will need to build a project. Emma from Pimoroni very kindly sent me a review sample and this is the kit that I used for this post.
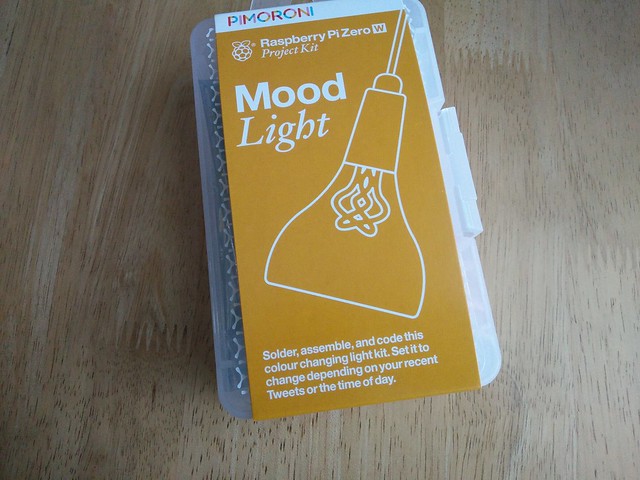
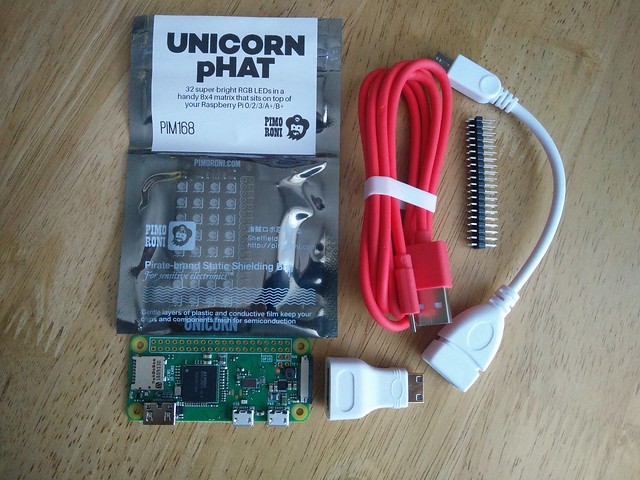
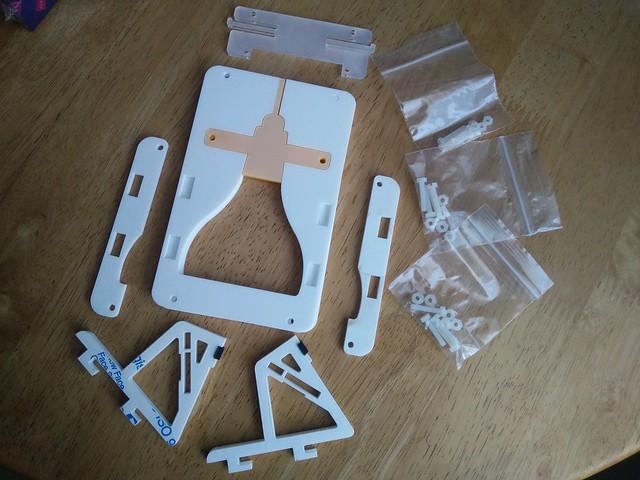
I received the Mood light project kit which comes with
- A Raspberry Pi Zero W
- GPIO header (to solder)
- Mini HDMI and micro USB to USB A adapter.
- Unicorn pHAT (32 super bright WS2812B LEDs, known as Neopixels)
- USB lead
- Laser cut parts for assembly.
Building at the dining table
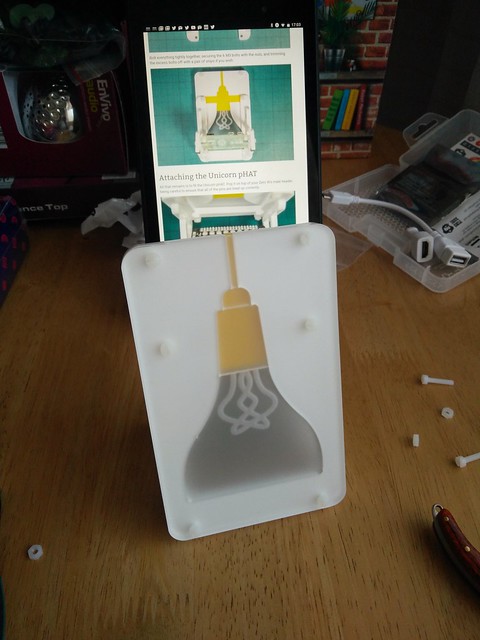
So using the great instructions, written by Sandy. I got to work building the kit.
First up, assembling the laser cut pieces...oh and peeling the protective tape off

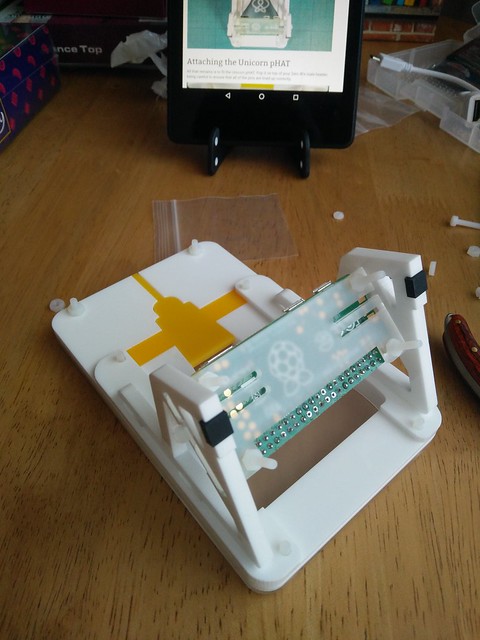
I then soldered up the GPIO pins on the Raspberry Pi Zero, and the header connection on the Unicorn pHAT. I used my USB soldering iron...I really need to write a post on that iron as it is rather good for jobs like this.
Finally I assembled the stand and attached it to the main frame.
Software
Installing the software was a breeze, I just followed the guide for the Unicorn pHAT and then ran the example script to test that it all worked....which it did.
Automate all teh things
deliberate typo
I wanted the mood light to run on boot, so I used the example rainbow.py which is an executable Python script, and edited my cron file so that it ran on boot.
To do this I opened a terminal and typed
sudo crontab -e
I then added a new line to the end of my cron file so that on reboot it ran the executable Python code.
@reboot /path/to/the/Rainbow/example/code.py
Remember to change the path to the location of the code that you want to run
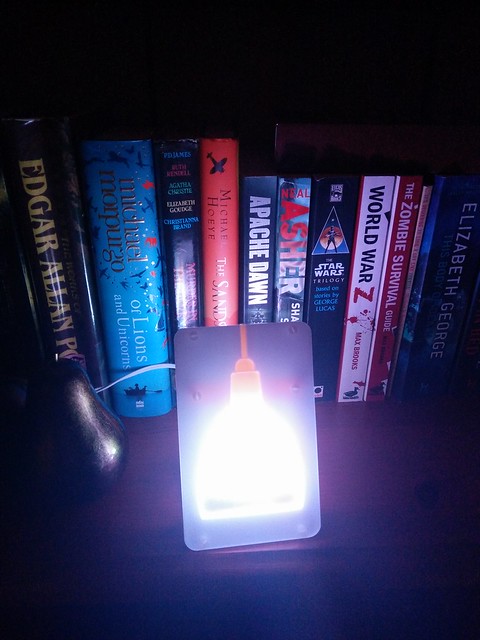
So now when I power up the mood light, it automatically runs the rainbow.py example code and lights up my bookshelf.
Conclusion
This kit was great fun to build, it took me about an hour to make the entire kit. This includes writing a new SD card for the Pi Zero W, and tinkering with the example code so that the Unicorn pHAT LEDs were a little brighter.
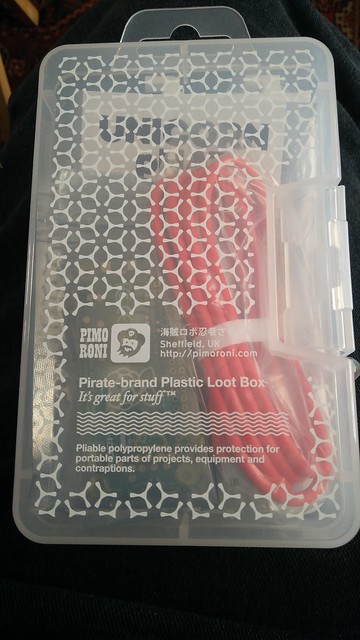
The kit retails for £30, which is a great price considering how much stuff is packed into the box...oh yeah the plastic box that contains the project kit is really nice quality and can be re-purposed to contain your Pi kit when you are travelling to Jams etc.
If you are just starting on the path to becoming a maker, then kits such as these should be your first step. Easy and fun to build, with a clear goal for the maker to work to.
You can buy the mood light project kit from Pimoroni for £30 and there are other kits available.
All in all, an enjoyable hour of hacking.
For my next trick
I'm messing around with MQTT and I reckon I can now have my mood light react to triggers from external devices...watch this space :D