Friday Fun: Cheap soldering irons
Soldering, I love it! I have a few irons for different jobs. But can two of the cheapest Branded soldering irons from CPC (part of the Farnell Family) be useful? There is only one way to find out!
Hey look the image at the top is someone holding a soldering iron incorrectly!
Yeah NEVER hold a soldering iron like this, you WILL burn yourself. Always setup your workspace BEFORE turning the iron on and never leave a soldering iron unattended.
So what triggered this test?

Well it was a who, rather than what. I was having a chat with Jo Hinchcliffe about cheap soldering irons for workshops. He mentioned about two irons he saw on the CPC website and I said that perhaps I should write a blog post...and here we are.
I chose the two irons from CPC and also bought something else for a future project ;)
To clarify, these soldering irons were bought using money kindly donated by readers such as yourself via my Ko-Fi page, and no-one at CPC has been involved in this blog post.
If you like what you read...
Sorry to interrupt! But would you like to buy me a cup of coffee? It helps me to pay for hosting this blog, and to buy stuff to hack from Poundshops / Dollar Stores which are used in free projects on this blog. Thanks!

So what did you buy?
I bought these two soldering irons
25W Soldering Iron with Rubber Lead, 240V - D03286
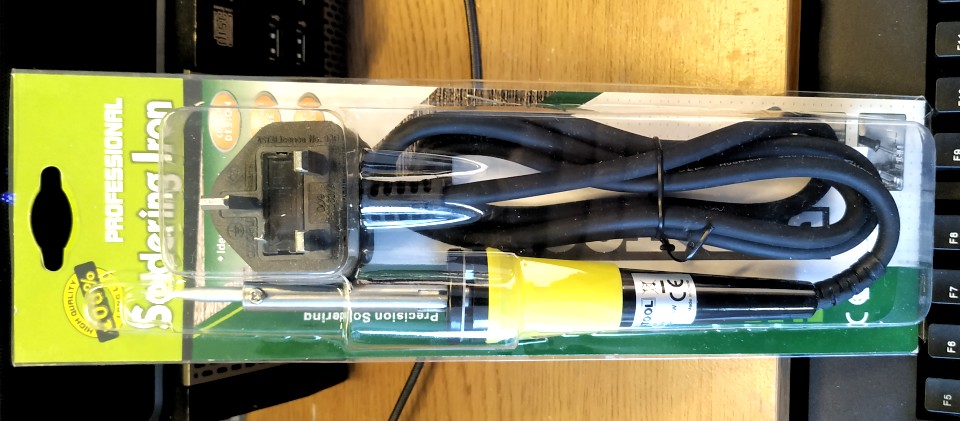
Bought from CPC for £4.50 including VAT.
40W Soldering Iron with Rubber Lead, 240V - D03174
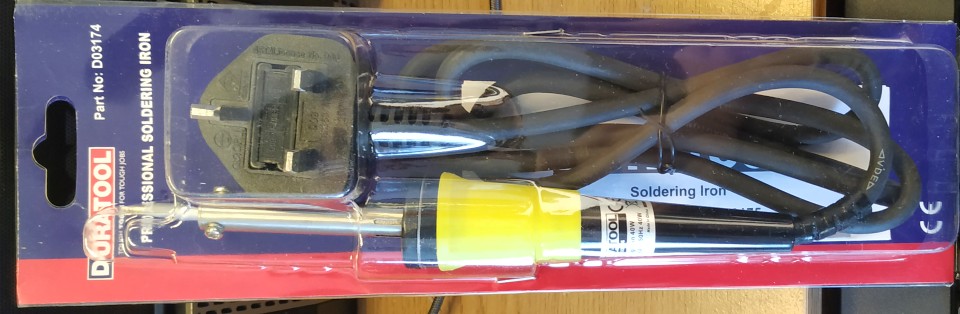
Bought from CPC for £3 including VAT
Both are identical despite coming from different suppliers.
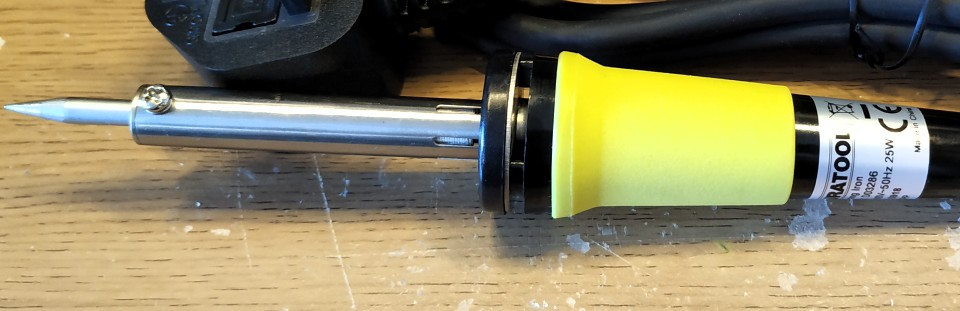
They have a hard black plastic body with a rubbery yellow sleeve providing grip.
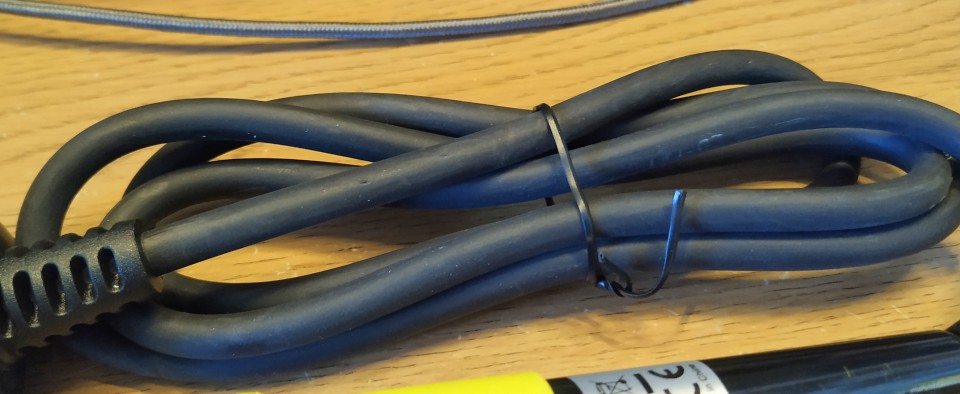
The mains cable is rubber and provides around 1 metre of flex. But the cable is quite firm so ensure that the workspace is clear otherwise things will get knocked over.
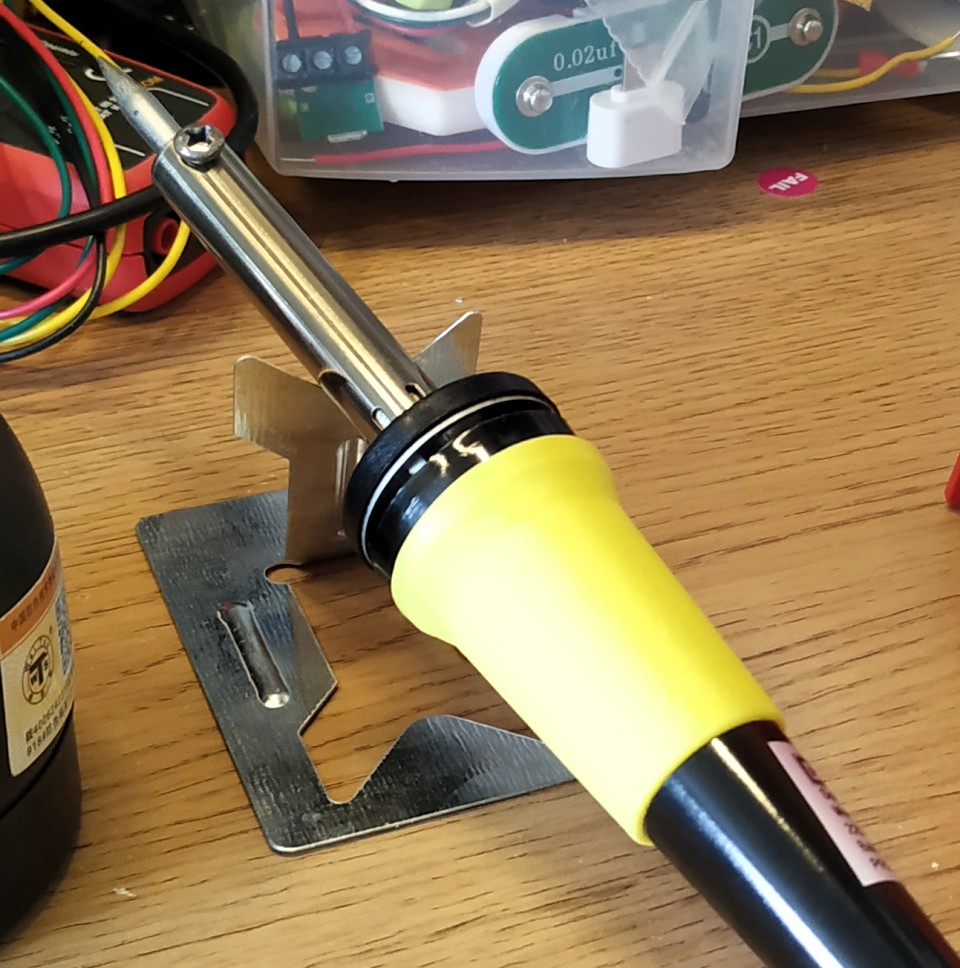
The 25W iron comes with a small folding stand, sadly the 40W does not.

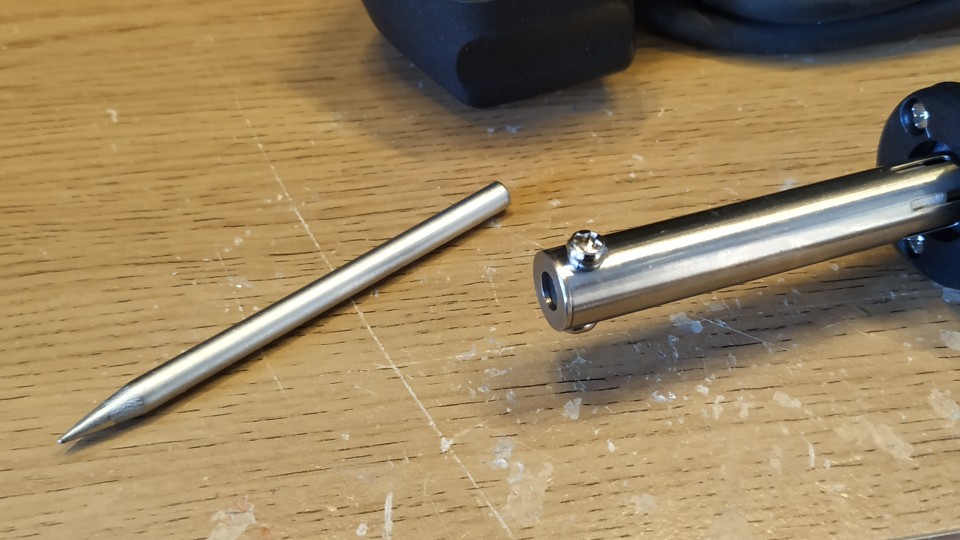
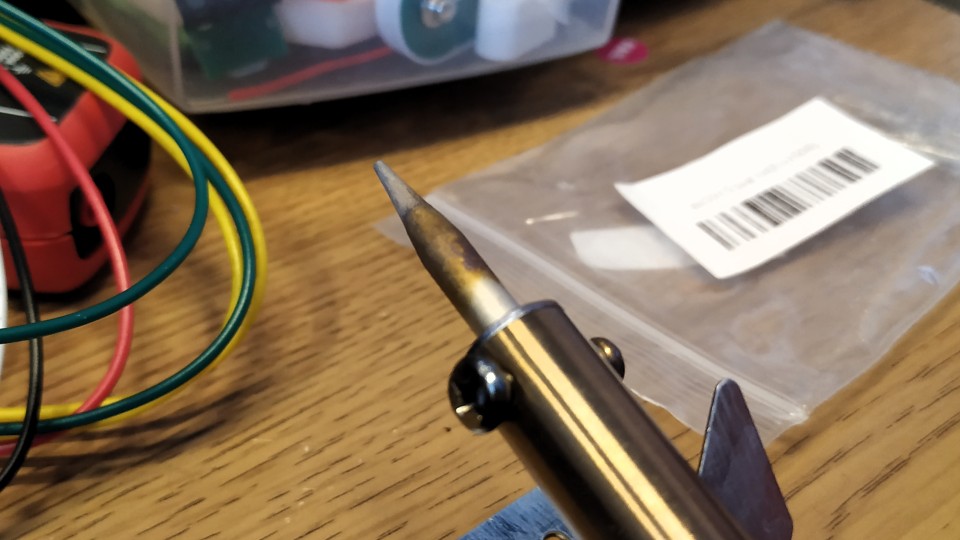
The tip of the soldering iron is replaceable by undoing the screw at the tip of the iron.
Both are not temperature controlled, so will work at full power when plugged in to 220-240V AC (UK mains).
Internal Construction

The irons run at mains (240V) voltage so please be careful. Inside we see the live and neutral wires connected to the heating element, and an earth wire is connected to the metal parts of the iron. I also tested the earth connection to the mains plug and all was as it should be for both irons.
To get access to the internals a tri wing screwdriver (Y1) is required, not common but easy to get hold of.
So how did I test?
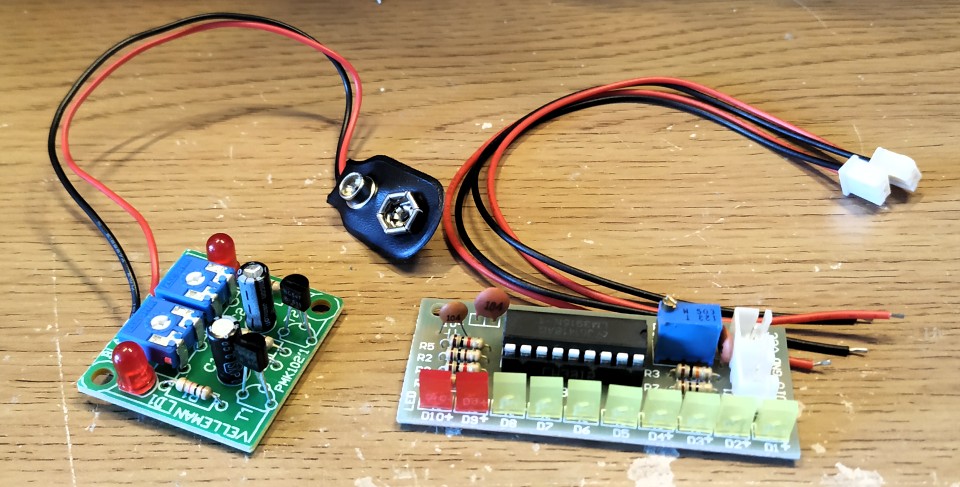
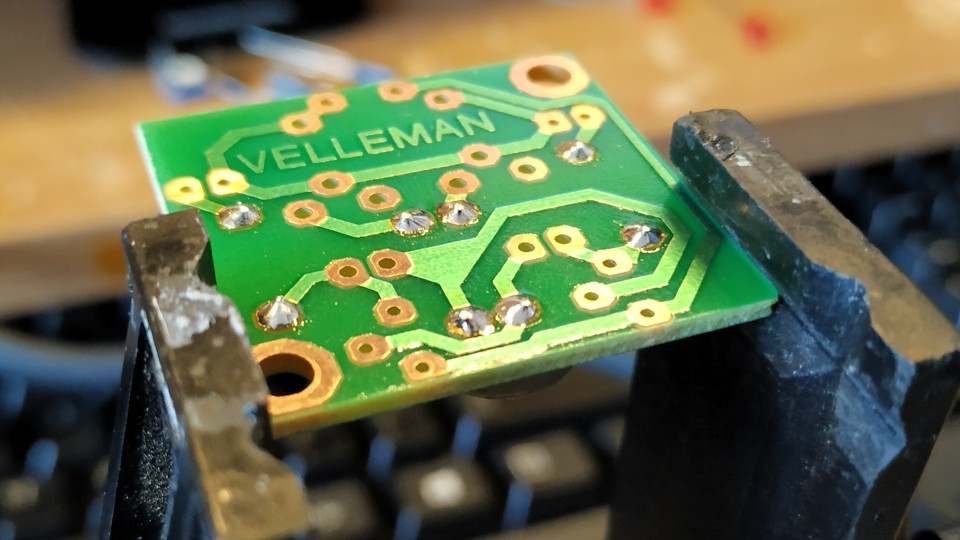
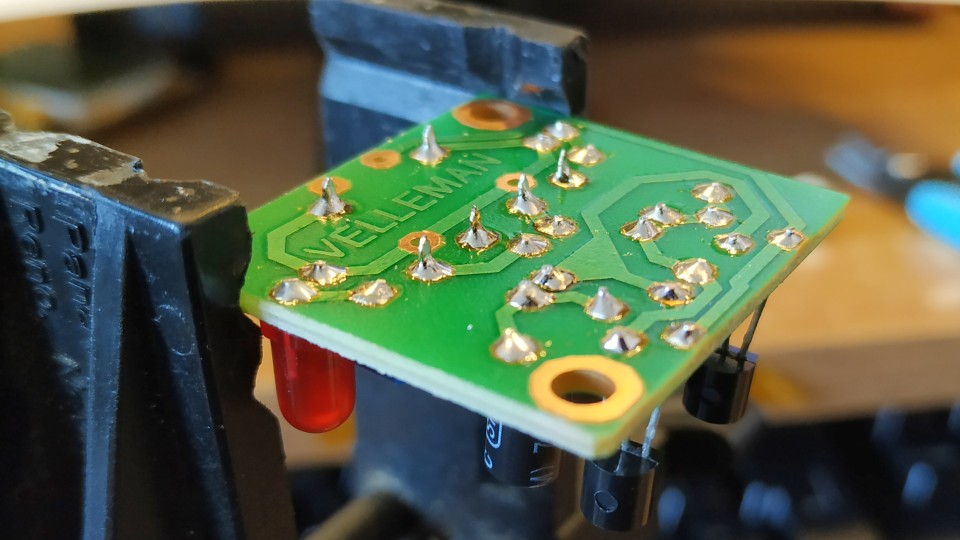
I have a couple of kits (well ok I have about 10 kits) in my bits box which I use to practice soldering. On the left of the image above is a Velleman Flashing LED kit, on the right is a Chinese kit bought from ABX Labs. To put each iron through their paces I built a kit with each iron. So here we go!
LM3915 Audio Level Indicator - 25W Soldering Iron

I plugged in the iron, placed it on the stand and left it for 3 minutes to heat up. After the time had elapsed I touched some lead solder to the iron and it melted. I tinned the iron and set to work!
The start with this iron was not great, one person on Twitter commented that the soldering was sub par.
They were right. My first few attempts were a bit scruffy, largely due to the size of the soldering iron tip.
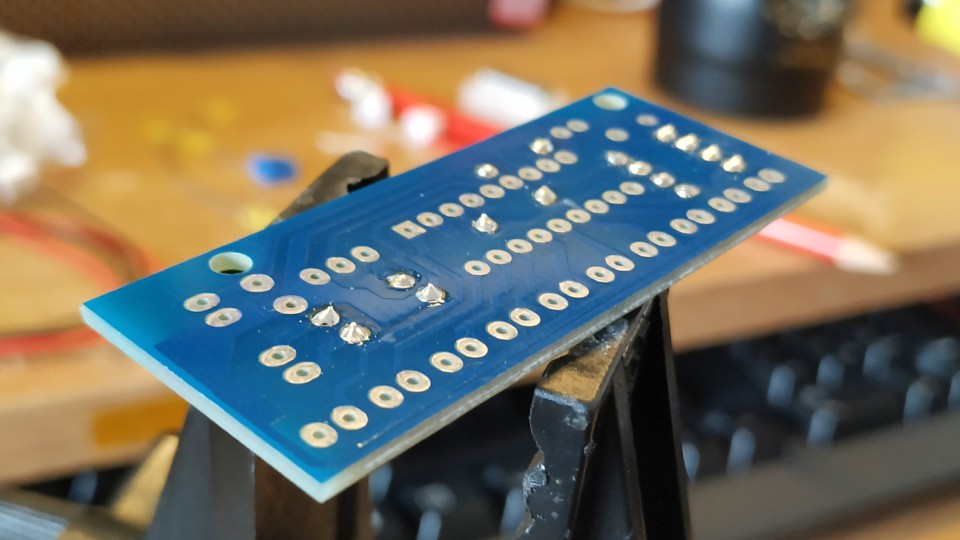
But things did improve as I got used to the tip.
My Lm3915 audio kit has been built. Currently playing an MP3 from another board. pic.twitter.com/dbsEV9EQWz
— biglesp (@biglesp) February 27, 2020
I managed to complete the project and I was largely satisfied with the result.
Velleman Flashing LEDs (MK102) - 40W Soldering Iron
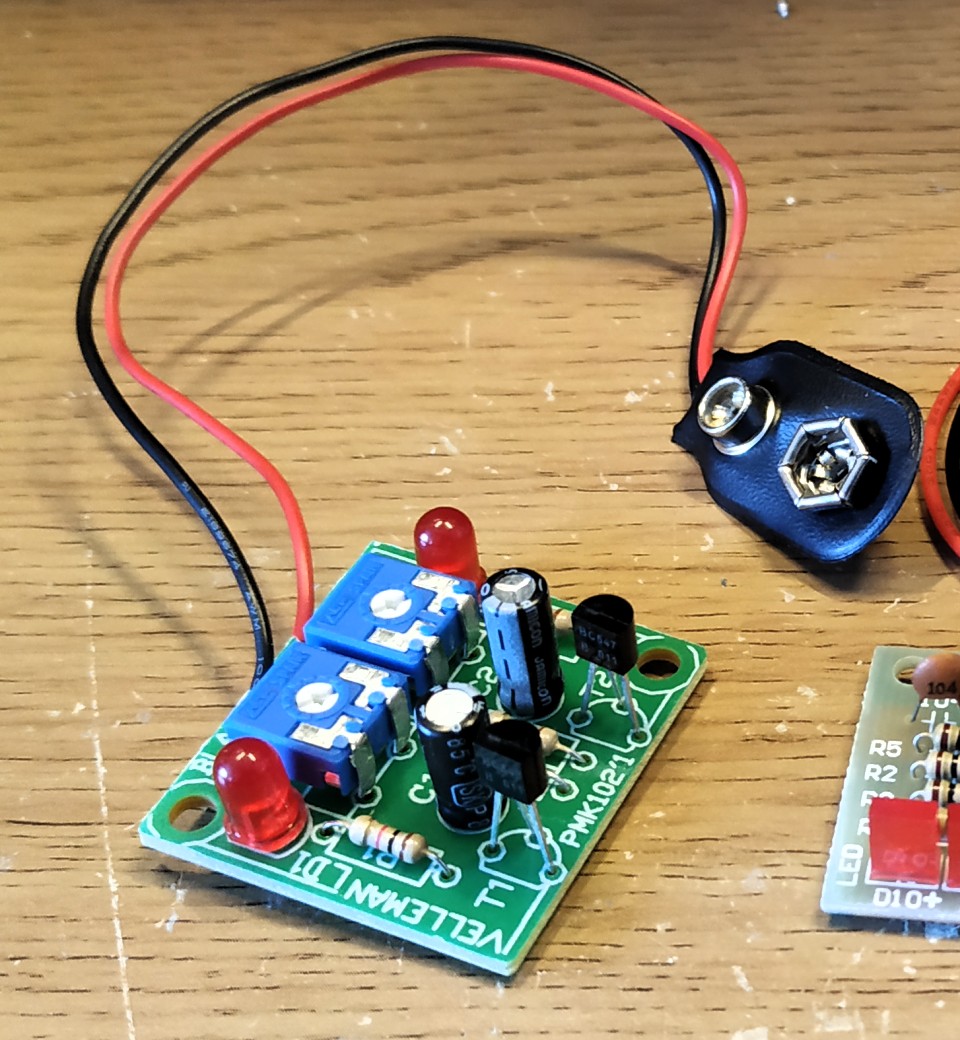
Who doesn't love flashing LEDs!?
I plugged in the iron, placed it on the stand and left it for 3 minutes to heat up. After the time had elapsed I touched some lead solder to the iron and it melted. I tinned the iron and set to work!
Soldering the Velleman kit was great, lovely instructions and so easy to follow.
The 40W iron has the same tip as the 25W so I was already familiar with how it felt. So my joints were a lot neater.
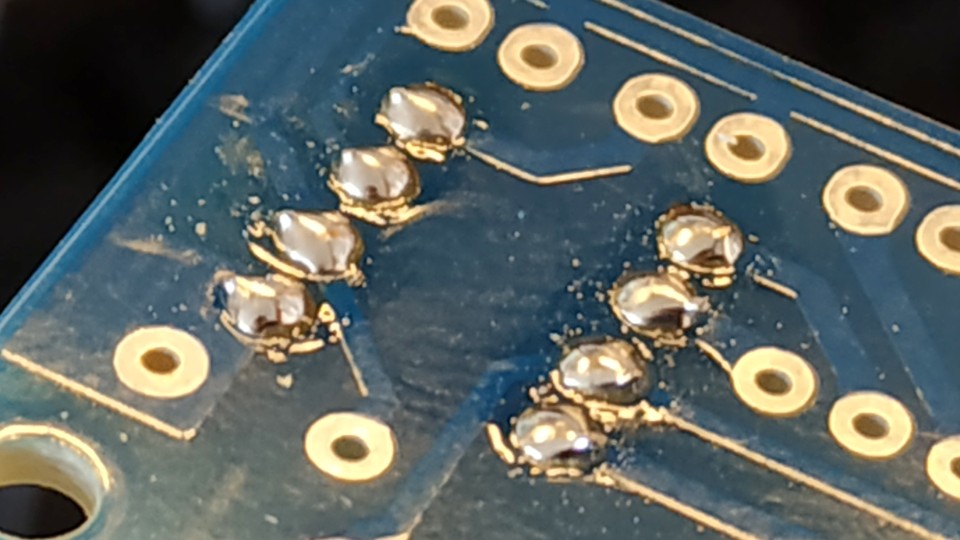
But I noticed that the tip of the 40W soldering iron was growing darker as I soldered. This is common for old soldering irons, but a fresh new iron with 20 minutes of use should not be this bad.
I soldered on and finished the joints.
Bonus disco mode! pic.twitter.com/vjWQC1JbHU
— biglesp (@biglesp) February 27, 2020
I was happy with the soldering and the kit worked. But I wasn't happy about the tip. It will not last long!
Conclusions
- Both irons heated up and performed well.
- They are both imprecise soldering irons, but more than capable of handling 90% of common soldering tasks, but not SMD or fine pitch.
- Both irons are earthed, great for safety!
- Both irons have a rubber mains lead. Good and strong and flexible, just make sure your workspace is clear before you start.
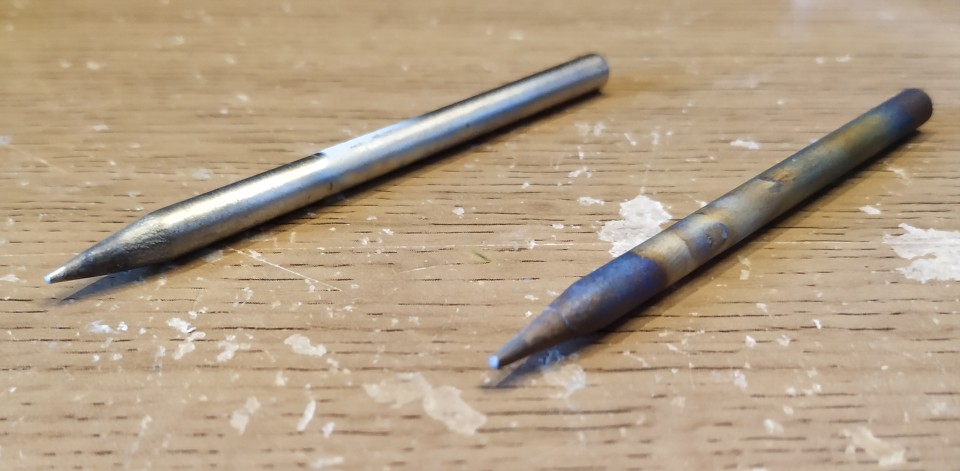
- The 25W soldering iron tip (left in the above image) showed the least amount of burning after 20 minutes of use.
- The 40W iron (right) will likely burn itself out and so I cannot recommend this iron.
The 25W soldering iron was the most expensive at £4.50 including VAT. But it has enough power for hobbyists to solder up their projects and the tip of the iron should last longer than the 40W version, which is £3 (£1.50 cheaper) but you are advised to put your money into the 25W version unless you really need a full 40W of power.
Alternative Soldering Irons
For light / quick / simple jobs
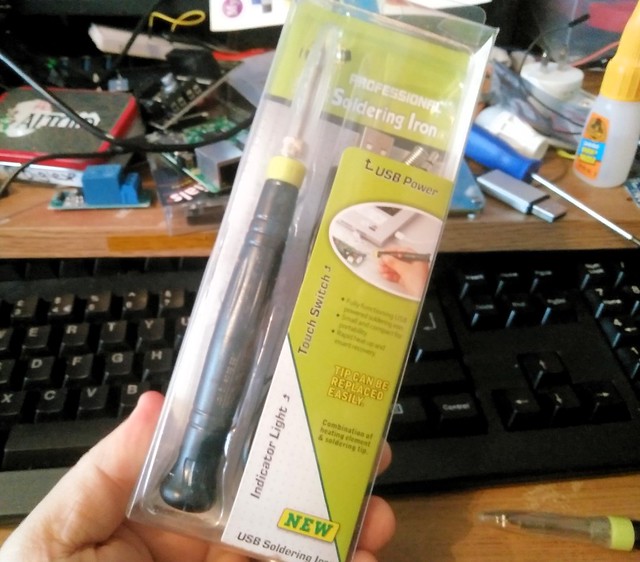
I use a USB soldering iron. These are great for kids as they are small, heat up quickly (<20 seconds!) and cool down quickly (2 minutes). They are also around £5 on eBay
For temperature sensitive components
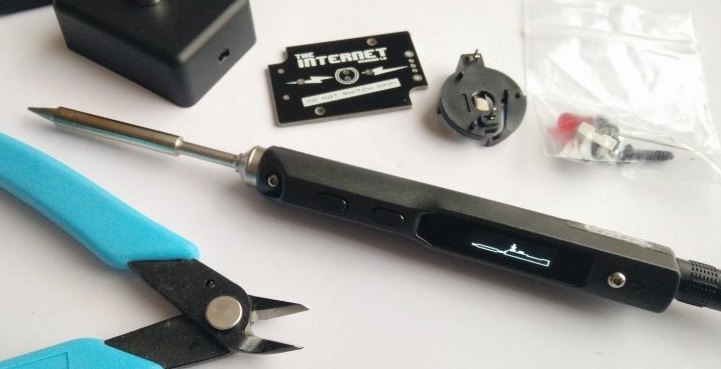
I use a TS100 soldering iron. I can set the temperature to ensure that I do not damage any components. I bought it from Banggood in 2018 for around £40.
For big jobs
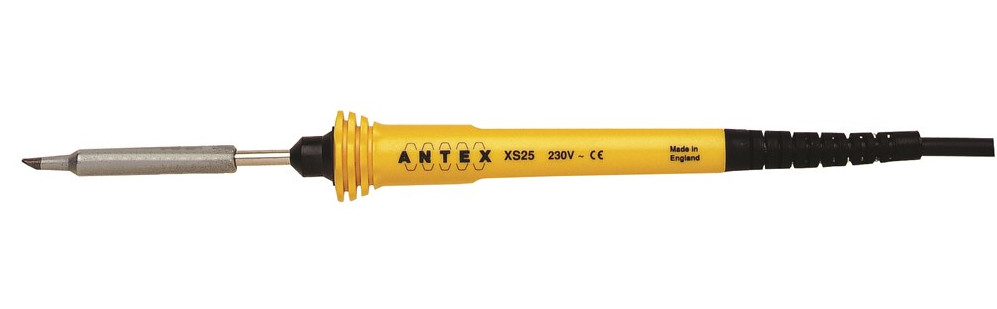
I use an Antex XS25 (25W) soldering iron, bought from Pimoroni for £30. But to be honest I haven't used it for a few years.